3/31/20

SW CP Class

I started with white and indigo to work on the values, the lights and darks, over the entire piece.  If this were not a class demonstration piece I would finish the value part before adding color.  On the leaves I added canary yellow lightly over the entire piece.  Then I used dark green lightly over the entire piece.  I used a stump to blend and smooth.  I then did more light layers with the 4 colors - dark green, canary yellow, white, and indigo.  I used a stump and/or white, lightly, as needed to blend.  On the petals I used crimson red and added it lightly over the petals.  Then I used a stump and/or white to blend and smooth.  I re-layered with the crimson red, white or indigo as needed to shape the petals.  Think values, values, values!

This is a photo taken in a different light with my phone.  The color is not correct.  The colors of these photos change depending on where and when I take the photograph and with what camera.

I worked on the petals, layering and shaping with the white and the two colors, crimson red and indigo blue.  We used white to shape and blend as well.  We can also use the stump (it adds no extra wax).  This photo was taken in poor light so the colors are off.

 This is the flower after a little more work this morning on the leaves.  You can see the various levels.  The color of this photo is close to the actual color and was taken with my good camera in the white light tent during daylight.

3/25/20

Wake Forest Acrylic and Mixed Media Class

This was how the landscape was before class.

Using a mixed dark (black + red + yellow) I started shaping the tree lines.  I then mixed yellow into a section of the dark to make a muted dark green and added some evergreens.  I also used a mixed orange and red and yellow to ass some all trees.  Then, using white I added the light trees and further shaped the tree lines.  I also used the white on the left side at the grass line to fix an area.  Next class we will work on the grass from the back to the foreground.

First I transferred the drawing and dampened the paper.  I dropped in the local color of the background and the bird letting it mix together a little at the edges. In the next class, after this was dry, I used dark green colored pencil to add dome of the dark and start shaping the background.  I used white to add highlights and over some color to reshapes the bird a little.  I used sienna brown on the bird as well as slate blue, canary yellow, cream, indigo, dark brown, and black.  We are lightly adding color to make a "road map" of the bird as a start.  

3/17/20

Wake Forest Acrylic Class

I made the background by dampening the canvas and dropping in the color.  I added some water at the top to create the light effect.  I added salt to make the texture..  After the background was dry I transferred the turtle outline, mixed a brown (the 3 primaries leaning towards red and yellow), and painted the turtle brown.

I transferred the turtle details with white transfer paper.  Using white with a little warm yellow added we put in the highlights and light values.  With a mixed dark (brown with some black) I painted the shadows and darker values.
I continued with white adding highlights (it still needs more, especially on the head) and with a dark adding shadows, especially in the neck and under the shell on the underside of the turtle.  I mixed a reddish brown and glazed most of the turtle with this color. I also started adding details.
 
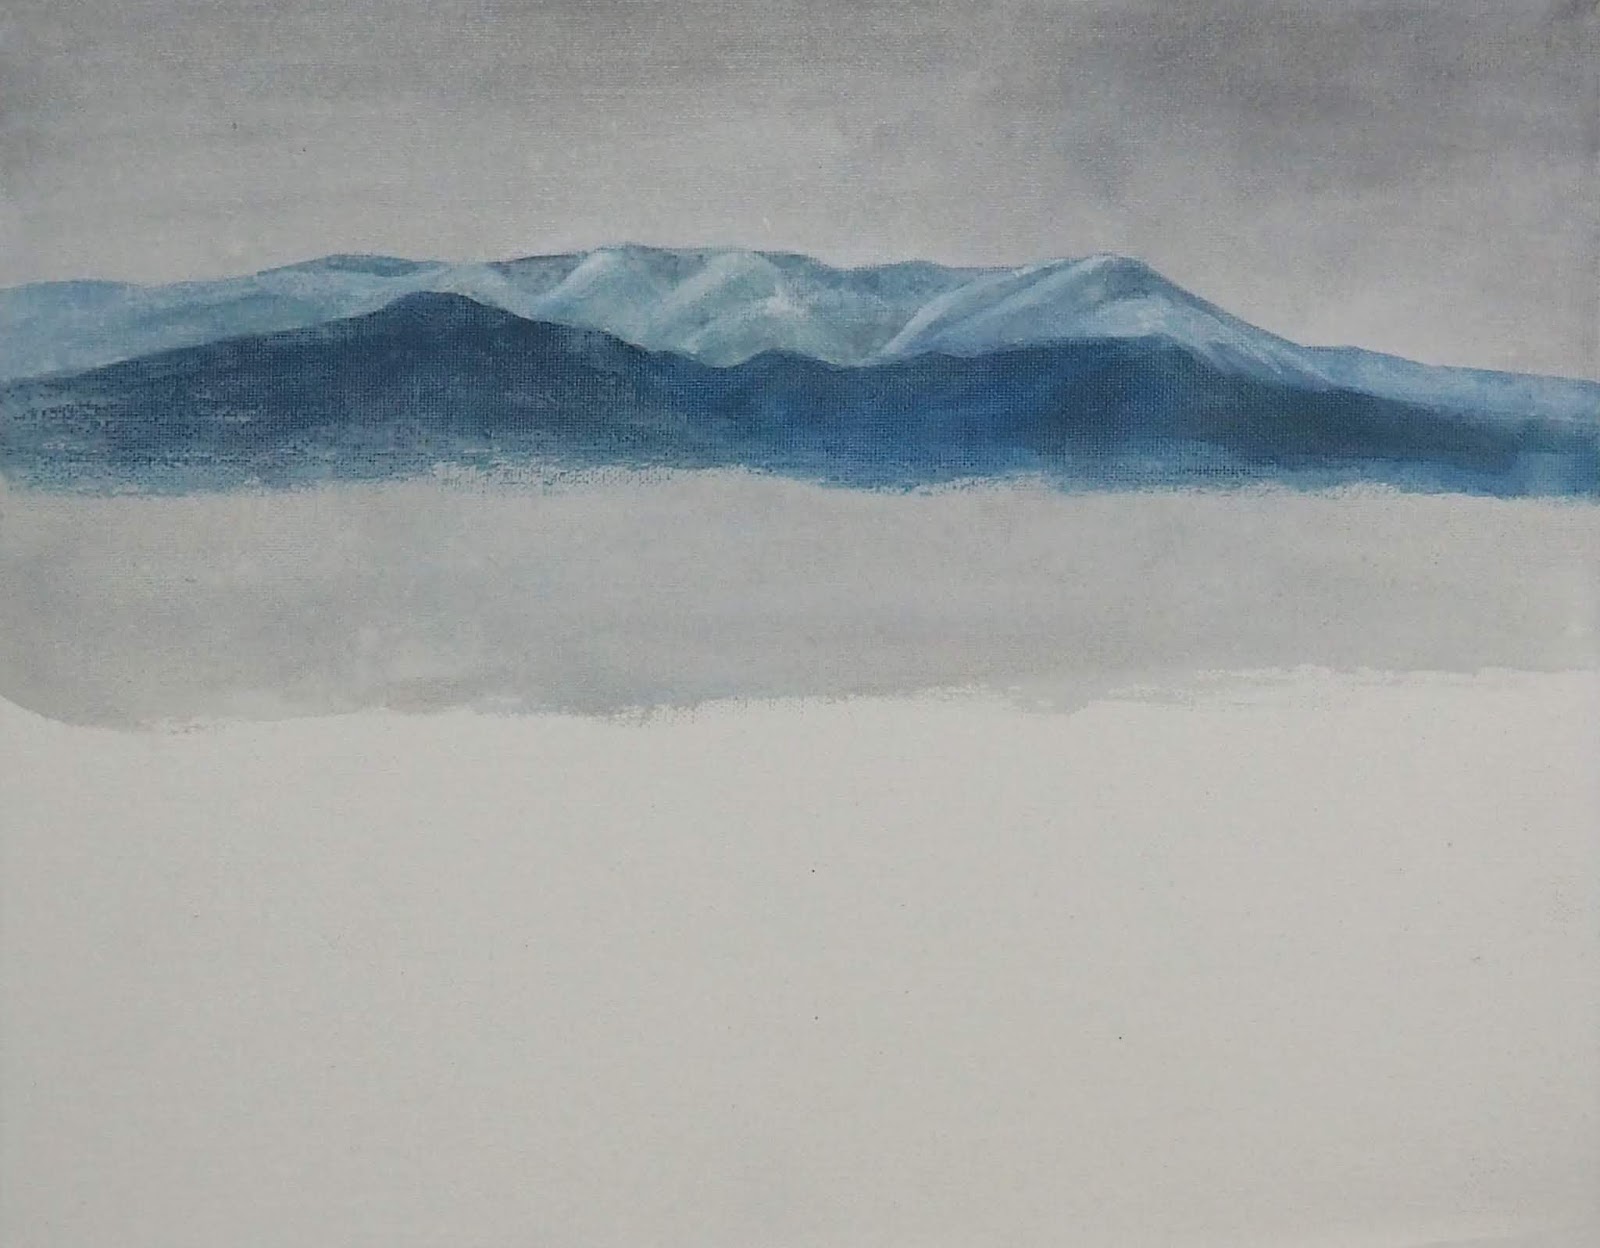
I dampened the canvas and added a light gray into the sky and halfway down, making it darker at the top.  I mixed a blue and made values with white and black and started painting the mountains.

Using a sponge and thinned white paint I sponged transparent white over the sky and mountains to soften the edges and textures as well as to lighten it.  I did this in thin layers.


before adding the foreground vegetation I glazed the sky and mountains with a thin transparent red.  After that was dry I mixed various greens and added it at the bottom working up and also adding yellow here and there.  I spritzed a fine mist of water to keep things wet as I was working on both the palette and canvas.  I then mixed red into the green to make a few browns.  I added those at the top, dropping in red in some areas.  Using a small brush I made the top textured with vegetation. 

Art & Ale Mixed Media, March, 2020

So you can see the various stages of the colored pencil in this one.  The grape on the left is probably 80-90% complete.  The others are less complete.  On the red grapes I layered white, scarlet lake, and black grape or indigo for the dark.  I have done 3-4 layers of the color with some white layers to blend in between.  I have also darkened and lightened the background around the grapes in order to add contrast so they pop forward.

I started working with colored pencil over the ink.  I have many more layers of colored pencil to do in order to get the texture, color, and values I want for this piece.

When class resumes I will continue with demonstrations on these two pieces.  Stay well and email with any questions.

3/13/20

NCBG Gouache, March, 2020

I worked on a few more petals and leaves adding light and dark plus details. I have also glazed some warm yellow on some petals and some leaves so far. I have kept the bottom portion of the petals and a few leaves undone in case they are needed for demonstration in a future class.  In the next class I will demonstrate adding a background on this project.

I started shading with the white paint, in layers, to get the values correct from the lightest to the darkest areas.  I am not done with the white on this piece yet.  I then started the color glazing part a little to show you the direction in which we are heading.

This is the background I made that I may use for the mushroom.  I have a few others that are possibilities as well.

3/10/20

NCBG, Gouache, March, 2020

I worked more on the flower petals with the white gouache, dark red, and a muted dark purple.  I also glazed a little warm yellow on some areas.  I left some petals on the bottom undone in case more demonstration of this part is needed.  I also worked a little on a few leaves.  Have many undone to demonstrate on.

I have transferred the almond branch onto my dark background.

Art & Ale Mixed Media, March, 2020

I added more pen & ink to the owl.

I added more watercolor pencil to this background to make it a little darker.

3/6/20

Art & Ale, Mixed Media, March, 2020

First I transferred the grape drawing.  Then I wet the paper and dropped in some color.  Then I used a small strainer (sandpaper works too) to grate watercolor pencil onto the paper to create the texture.  I may add another layer to darken the piece a bit before class.

First I transferred the owl drawing.  Then I dampened the paper and dropped in/painted the local color paying attention to the owl colors somewhat.  I wanted the paint to move and blend together some.  When the paper was still wet, but not puddled, I dropped in salt (I used larger coarse salt).  After this dried I started drawing the darks with my black ink pen and lights with my white gel pen.  I hope to get more done before class.

NCBG Gouache, March, 2020

I started this by transferring the drawing and painting in the solid local color with watercolor.  After that dried I started painting the highlights and light areas with titanium white gouache mixed with a little warm yellow into the flower (I added warm yellow to the white since titanium is very cool). I then mixed a dark red color which can be done by adding a little of it's compliment, green, to the red.  Next I started painting the highlights and lights on a leaf and mixed a dark green (by adding a little red, it's compliment).  I also showed glazing on the bottom leaf on the right side.  I used a very thin yellow and painted that over the leaf to warm it up.

I posted this to remind you that the background you make for the next project needs to be medium-dark to dark.  It will make the next step easier.  If your first pass is not dark enough you can do another layer or two over the top.  let them dry completely between layers.

3/3/20

BAL CP&MM Feb., 2020

I added a little more pen & ink and some colored pencil on the top turtle.

Did a little more work on the branches and background.

Started to add a background.  I used a red, green and a yellow so far.

I worked mostly on the eye and the nose and a little on the mouth.  This is how it looked after class.

I have been working mostly with values to start creating form.  I have used a lot of white and dark brown along with some terra cotta, scarlet lake, Spanish orange and peach.  I will add some other color and more detail to her face and hair as I get the shape and form the way I want it.

2/26/20

BAL CP & MM

This was how it looked after last week's class

I did a little more work especially with white and also added some blue in the eyes (lightly) and some scarlet in the skin (very lightly) and tera cotta on the lips, eyebrows and hair (very lightly) and a little dark brown in the hair.  I will do more of this in class as I develop the form and values. 

2/20/20

BAL CP&MM Feb. 2020

I finished the pen & ink on the bottom turtle before class.  If this were not a demonstration I would finish the pen & ink before adding colored pencil.  I added more colored pencil on the top turtle working with white, spanish orange, canary yellow, cream, terra cotta, black cherry, black 
I worked on the leaves using olive green, spanish orange, terra cotta, and white.  I added some dark brown to the branch.
I shaded on some color with watercolor pencils.  I used greens in the background; orange, red, and yellow plus a little green in the face; browns, blue, orange, red, and green in the hair.  I wet the paint all over and let it mix some.  Then I used a bunch of color and did the sanding with some water spritzing.  After it was dry I started using white to gently shade the face and a little in the hair.  
I worked on the stem using chartreuse, spanish orange, pomegranate, white, and olive green.  I made a gentle transition from the darker green to the brighter green.  I added some more red, both the warm and cool red, to the left red grape.  I added more white as well.

Acrylic Cass 2020

First I made a very thinned paint, thinned with matte medium and water.  I dampened the canvas and painted the wet paint on the canvas.   I added some water near the top to make the effect of light. I added salt when the canvas was wet, but not puddled, to make a texture.  After that was dry we mixed a red brown and blocked in the turtle shape.
First I mixed a gray color, with 3 primaries leaned towards blue, added white, and painted the background (I made separate piles of the original gray and the lightened gray).  I added a bit of the darker gray at the top.  I spritzed it with a fine spray of water.  After that was dry we used blue (I mixed ultramarine blue and a little pthalo blue).  I made the blue darker by adding some black and made it light by adding white (I made separate piles of the lightened and darker color and the blue color).  I painted the values on the mountains. 

2/15/20

Sertoma CW Jan. & Feb. 2020

We added more dark to the background near the grapes to pop them forward.  I also added more color to a few of the unfinished grapes.  I have lots of little adjustments to make yet.
I added darks to his sunglasses, beard, and hair.  I want the hair to be shaped and yet partly softened and part of the background.  I started the mustache, it needs more work.  I added darks to the mouth, and parts of the face and the ear, more work is needed, but it's getting there.  I added some textured dark to the background grout lines.  I will continue texturing the background and pushing it back into space.

2/14/20

BAL CP&MM Feb. 2020

I started this with a black and white pen. If this were not a demonstration, I would completely finish the ink portion before starting the colored pencil.   Sometimes when I finish the ink I decide not to add colored pencil because it looks great as is.  I started the pencil on the top turtle.  I used white, cream, canary yellow, black cherry, black grape, and terra cotta (or sienna brown) so far.  It needs more work of course.  Substitute colors are absolutely fine.  For the dark you can use indigo and dark brown instead of black grape and black cherry for example.

This started with white.  I have added 70% cool grey, Copenhagen blue (or cobalt blue hue or denim blue), indanthrone blue (or indigo blue), true blue, violet, and black.  In the background I started shading chartreuse and Spanish orange.  I made the pencil strokes go in the direction of the feather textures.

I worked more on the left red grape using more red to deepen the color.  I will demo a grape or two and the stem and background next class

2/8/20

Sertoma CW Jan. & Feb. 2020

This was how it looked after class.

For this I wet the entire piece (less water on the face).  I rubbed a soft brush over the background focusing on the harder edges (I did not use a scrubbie). I then dropped in my purple blue (ultramarine blue) and my warm yellow (permanent yellow deep).  I still need to push some areas back more and can do this without wetting the entire painting.

DAC MM Jan. & Feb. 2020This is how the piece looked after class.

I demonstrated the hair, mustache, adding colored pencil to the background (lightly in this case), working on the goatee and the skin a little more.  I also worked a little more on the jacket with ink and some colored pencil in class and afterward as well.

I worked more after class on the hair, it still needs more dark and a little more refining.  I added some scarlet lake and terra cotta to the face, especially under the eyes.  I'm still refining the face by adding color and making it a little darker in some areas.  i'm also still working on the eyes to gain Matt's expression.  I started working on the neck and still need to add more shadows.

2/6/20

BAL CP&MM February, 2020

This is Stonehenge Aqua 300 lb. cold press watercolor paper.  It is not heavily textured so I like it for mixed media.  I also use the 140 lb. and their hot press for colored pencil and mixed media.  I do not love it for watercolor only painting.  I wet the paper, very wet so the paint will move, and dropped in color.  I used prussian blue (a green blue) and several mixtures of turquoise and green mixed with prussian blue and aureolin yellow (a cool yellow).  I made it lighter by adding some water to one end.  I wanted it a little lighter at the top (since ocean water is lighter near the top). When it was still wet, but not puddled I added the salt.  I used both large salt and fine salt.  This took the entire class and beyond to dry.  We will transfer the turtles in the next class.

This is Strathmore toned gray paper.  I started this by transferring with white transfer paper and then using a textured stroke in the direction of the feathers I started shading the bird.  on the branches I used a scribbled texture.  I have more to do before adding the darks and color.

This is Strathmore toned gray paper.  I started this by transferring with white transfer paper and then using a white pencil and smooth circular stroke adding the highlights and lights.  I then started using black grape to add the darks, again using the smooth circular stroke (you could use indigo in place of the black grape). For the red grapes I used scarlet lake and pomegranate over the white and black grape areas (you can use crimson lake for the pomegrante or crimson red to replace either or both reds).  I then added some spanish orange on the bottom of the left side grape and the left side of the background red grape (you can use canary yellow to replace spanish orange).  I have several more layers to demo in the next class.  For the stem I added yellow chartreuse and spanish orange with a little black grape at the top.