 |
| I made the background by dampening the canvas and dropping in the color. I added some water at the top to create the light effect. I added salt to make the texture.. After the background was dry I transferred the turtle outline, mixed a brown (the 3 primaries leaning towards red and yellow), and painted the turtle brown. |
 |
| I transferred the turtle details with white transfer paper. Using white with a little warm yellow added we put in the highlights and light values. With a mixed dark (brown with some black) I painted the shadows and darker values. |
 |
| I continued with white adding highlights (it still needs more, especially on the head) and with a dark adding shadows, especially in the neck and under the shell on the underside of the turtle. I mixed a reddish brown and glazed most of the turtle with this color. I also started adding details. |
 |
| I dampened the canvas and added a light gray into the sky and halfway down, making it darker at the top. I mixed a blue and made values with white and black and started painting the mountains. |
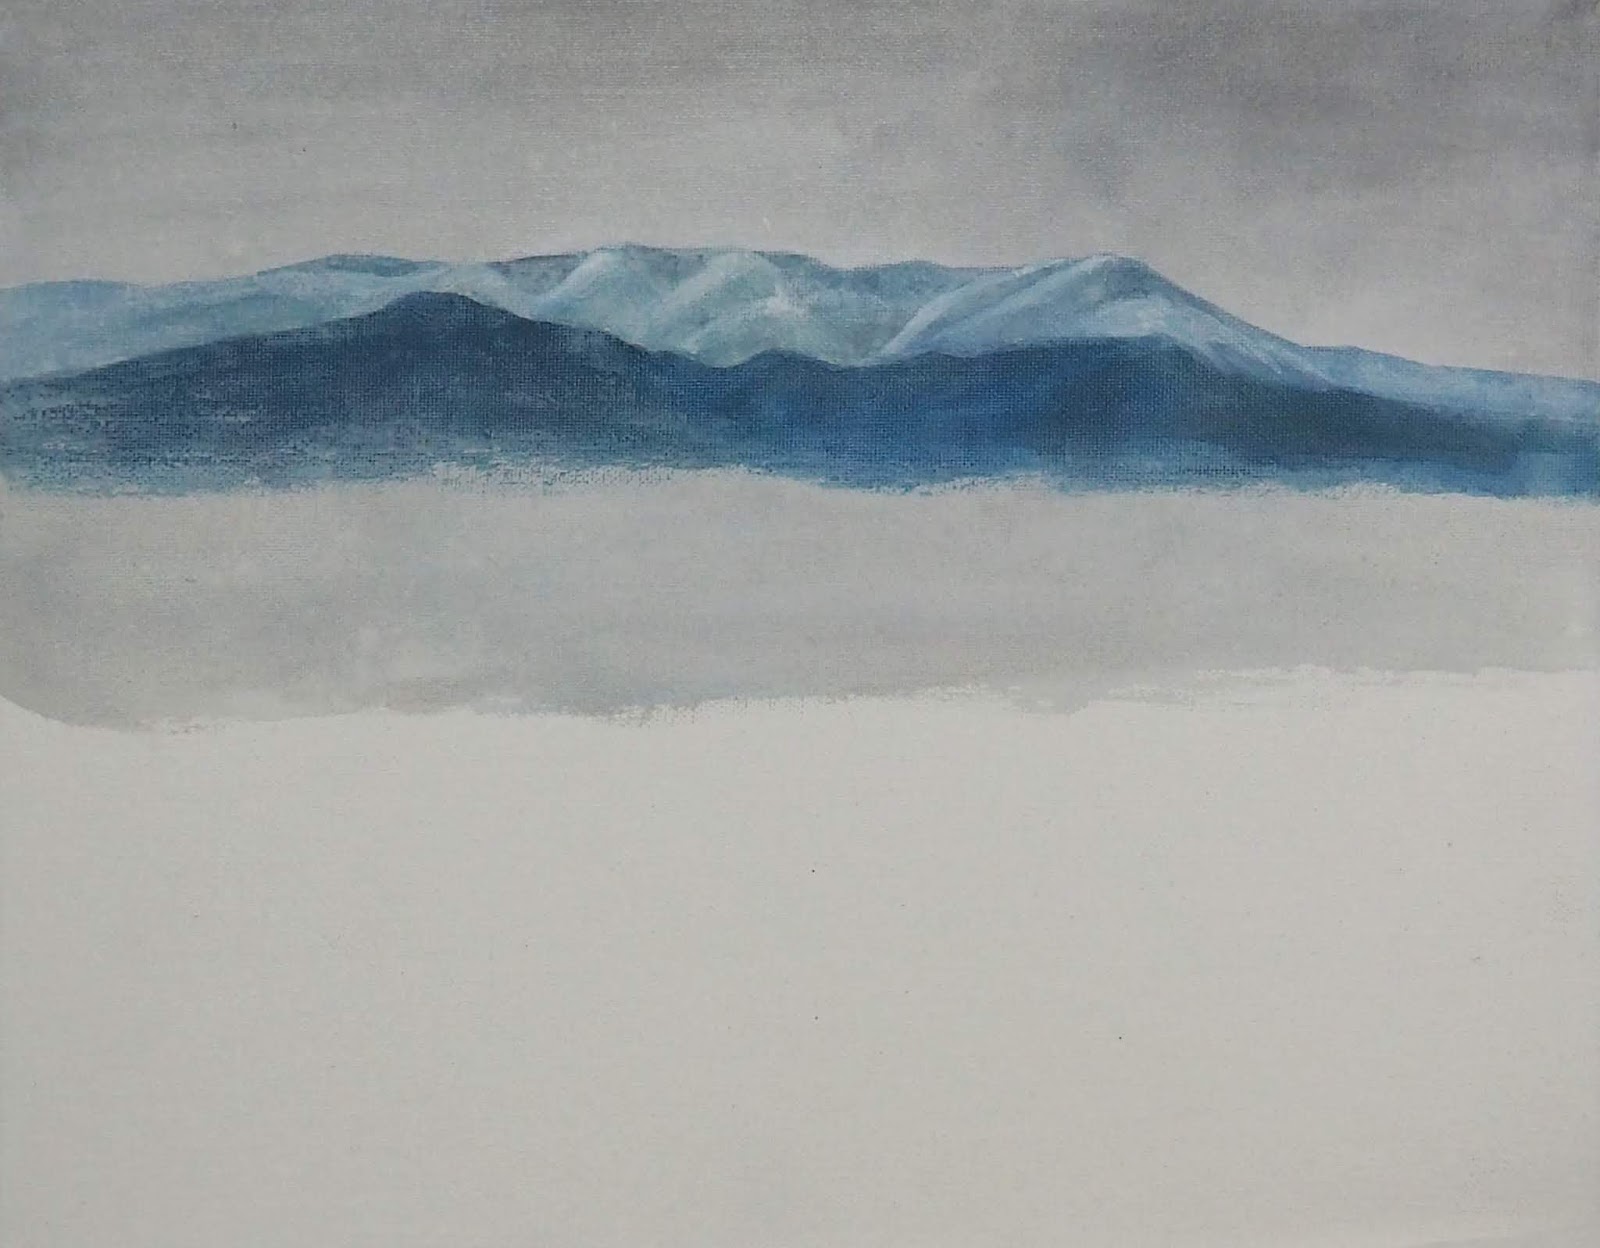 |
| Using a sponge and thinned white paint I sponged transparent white over the sky and mountains to soften the edges and textures as well as to lighten it. I did this in thin layers. |
 |
| before adding the foreground vegetation I glazed the sky and mountains with a thin transparent red. After that was dry I mixed various greens and added it at the bottom working up and also adding yellow here and there. I spritzed a fine mist of water to keep things wet as I was working on both the palette and canvas. I then mixed red into the green to make a few browns. I added those at the top, dropping in red in some areas. Using a small brush I made the top textured with vegetation. |