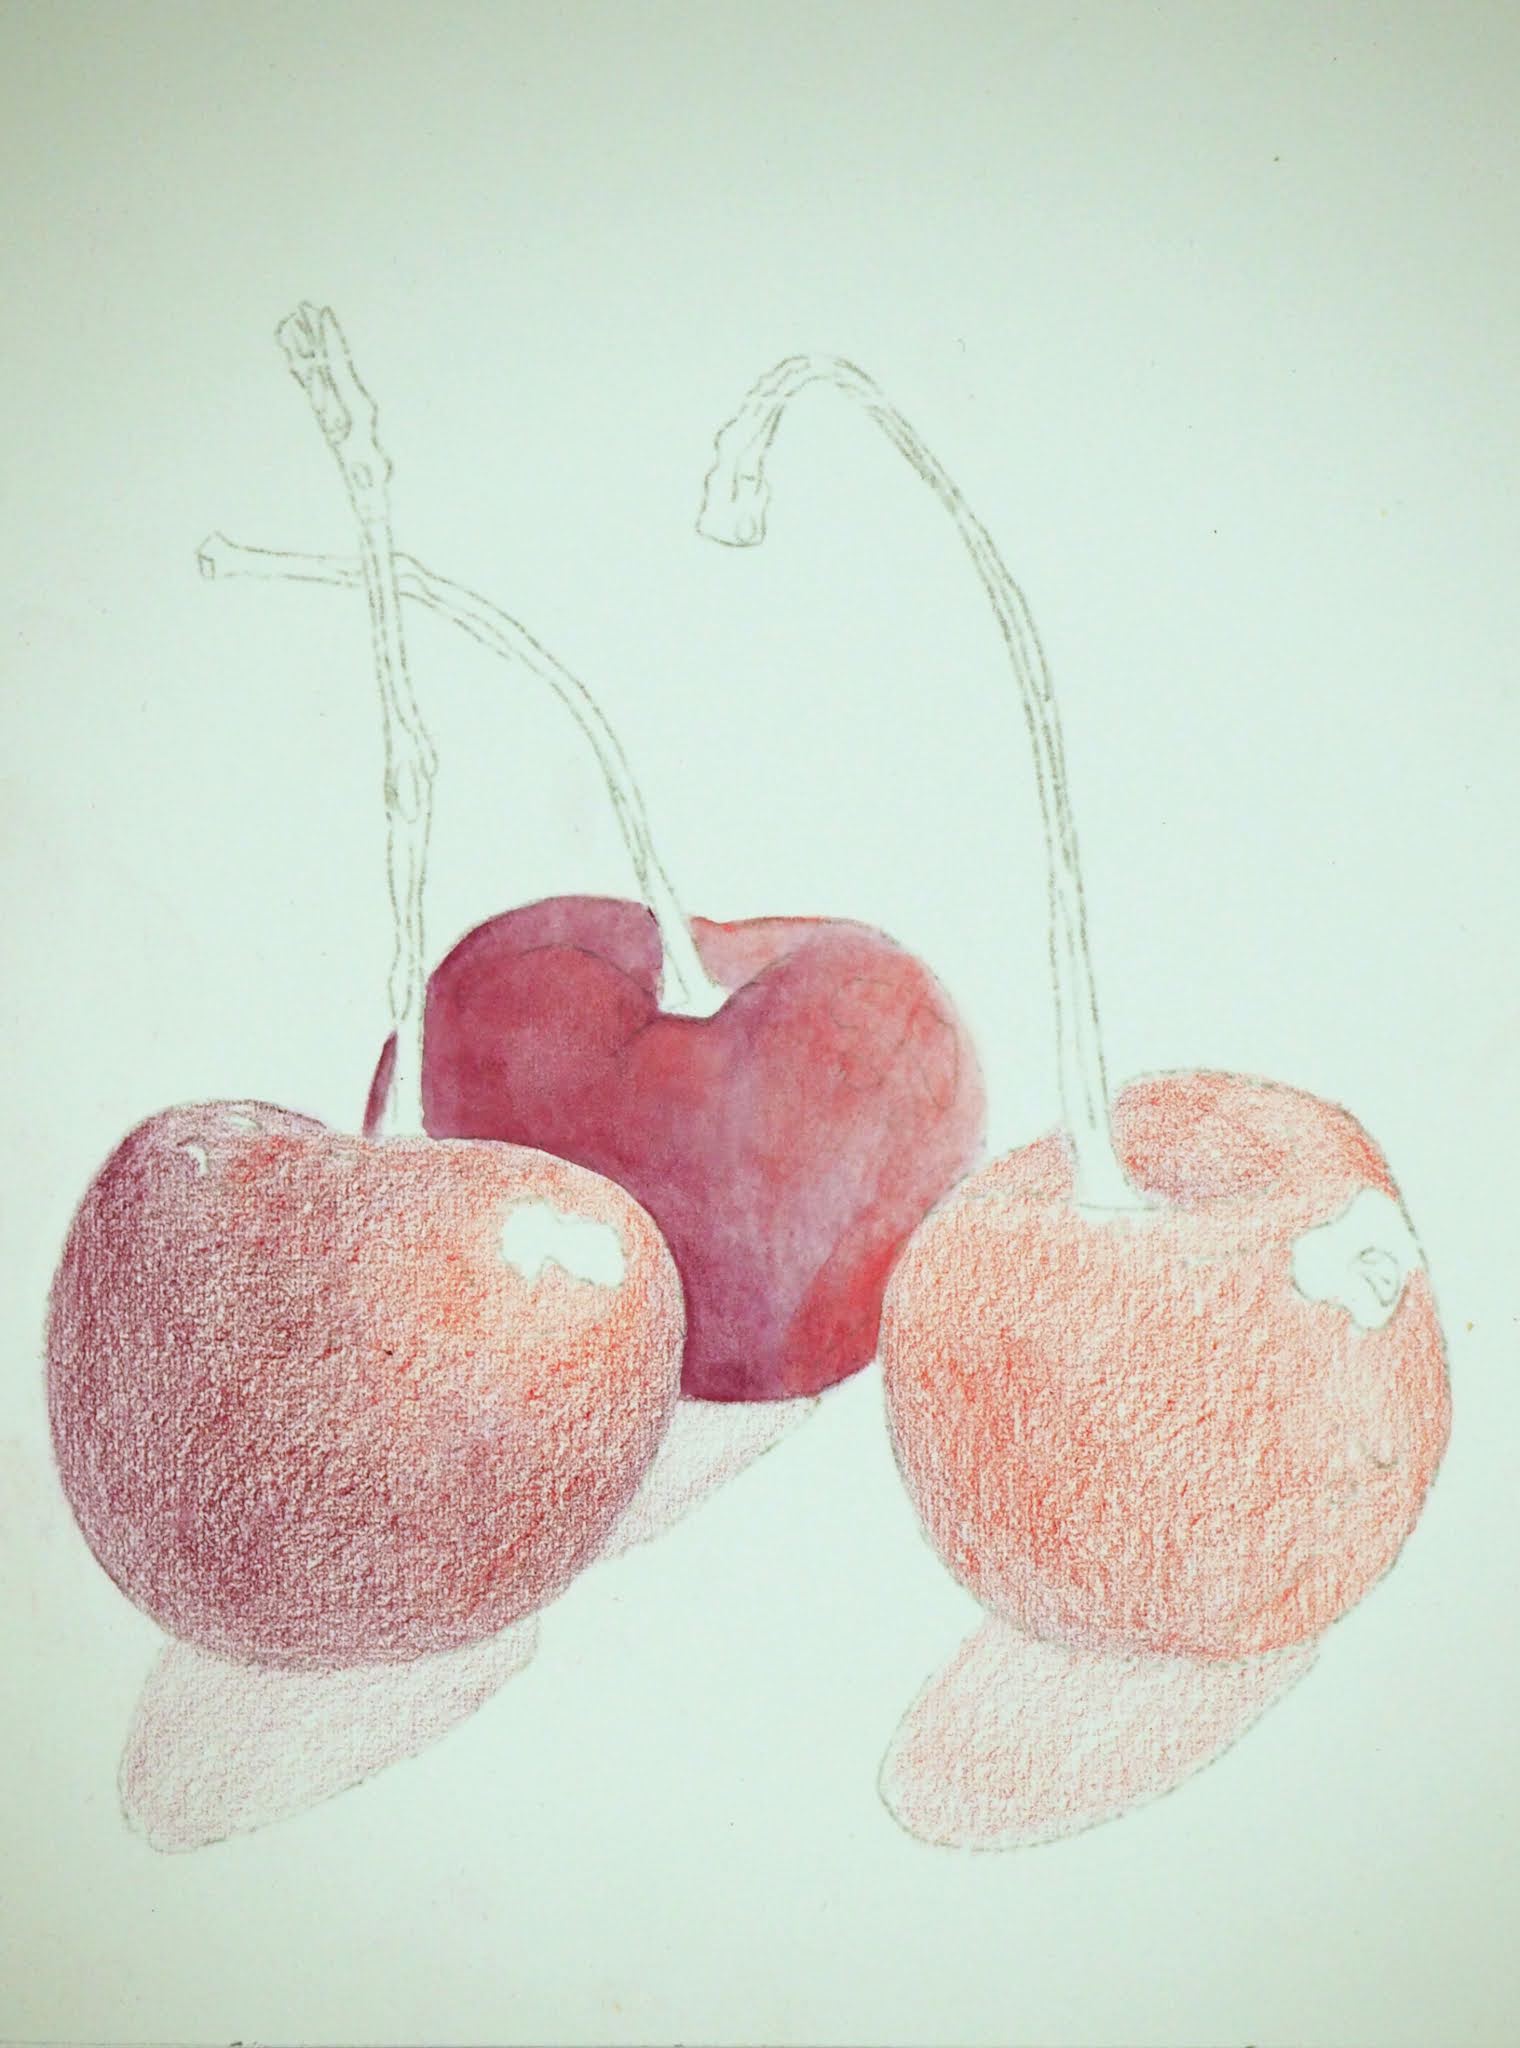
I did more work on both paintings while demonstrating on Zoom.


Winter & Spring Classes 2021
Zoom classes with Kate Lagaly
For information and registration
Email Carolyn at Carolyn_Langley@ncsu.edu
Drawing and Painting with Watercolor Pencils
Zoom Class
Fridays, March 12 and 26 (no class March 19)
From 10 am - Noon
Painting with Watercolor and White Gouache
Zoom Class
Fridays, April 16 and 23
From 10 am - 12:30 pm
Painting with Watercolor and White Gouache
Zoom Class
Fridays, May 14 and 21
From 10 am - 12:30 pm
In-Person and Zoom Classes with Kate Lagaly
at the North Carolina Botanical Garden
100 Old Mason Farm Rd, Chapel Hill, NC
Go to - http://ncbg.unc.edu/register
(click LEARN near the top,
from the drop down menu choose ADULT PROGRAMS,
on the page click View and Register for Classes)
Advanced Expressive Watercolor
In-Person Class
Wednesdays, March 10, 17, 24, 31
From 1 - 4:30
Acrylic
In-Person Class
Wednesdays, April 7, 14, 21, 28
From 1 - 4:30
The Anatomy of Shadows: Form and Cast in Watercolor
Zoom Short Course
Saturday, April 24
From 1 - 4:30
Beginning Colored Pencil
In-Person Class
Wednesdays, May 5, 12, 19, 26
From 1 - 4:30
Summer & Fall Classes 2021
Zoom classes with Kate Lagaly
For information and registration
Email Carolyn at Carolyn_Langley@ncsu.edu
Drawing with Colored Pencils
Zoom Class
Fridays, June 11 and 18
From 10 am - Noon
Drawing with Colored Pencils
Zoom Class
Fridays, July 16 and 23
From 10 am - Noon
Mixed Media: Colored Pencil over Watercolor and WC Pencil
Zoom Class
Fridays, August 13 and 20
From 10 am - 12:30 pm
Mixed Media: Colored Pencil over Watercolor and WC Pencil
Zoom Class
Fridays, September 17 and 24
From 10 am - 12:30 pm
Mixed Media: Colored Pencil over Watercolor and Pen & Ink
Zoom Class
Fridays, October 15 and 22
From 10 am - 12:30 pm
At the North Carolina Botanical Garden
100 Old Mason Farm Rd, Chapel Hill, NC
Go to - http://ncbg.unc.edu/register
(click LEARN near the top,
from the drop down menu choose ADULT PROGRAMS,
on the page click View and Register for Classes)
Intermediate Colored Pencil
In-Person Class
Wednesdays, June 9, 16, 23, 30
From 1 - 4:30
Advanced Colored Pencil
In-Person Class
Wednesdays, August 11, 18, 25, September 1
From 1 - 4:30