Step one, lay in local color, very lightly. I mixed the bright yellow green using pthalo blue green shade and hansa yellow light (aureolin would work as well). I leaned the color toward the yellow. I worked around the highlight leaving it white (or you can use masking for highlights). I mixed the brown using 3 primaries. When mixing the 3 primaries you get brown by leaning the color towards yellow and red. This brown is close to gray and only leaned slightly toward the yellow and red. Both colors are light (lots of water in the mixtures I used) .

Using the same colors to mix the greens and brown I made darker versions. For the brown I added less water for the green I added a bit more blue and a very small dot of red. I then started adding in the form shadows on the fig, gradating it to get the subtle variations of values in these shadows. I also used the original yellow green with a little less water to make subtle shadows in the lighter area of the fig. I added the cast shadow to the branch as well.
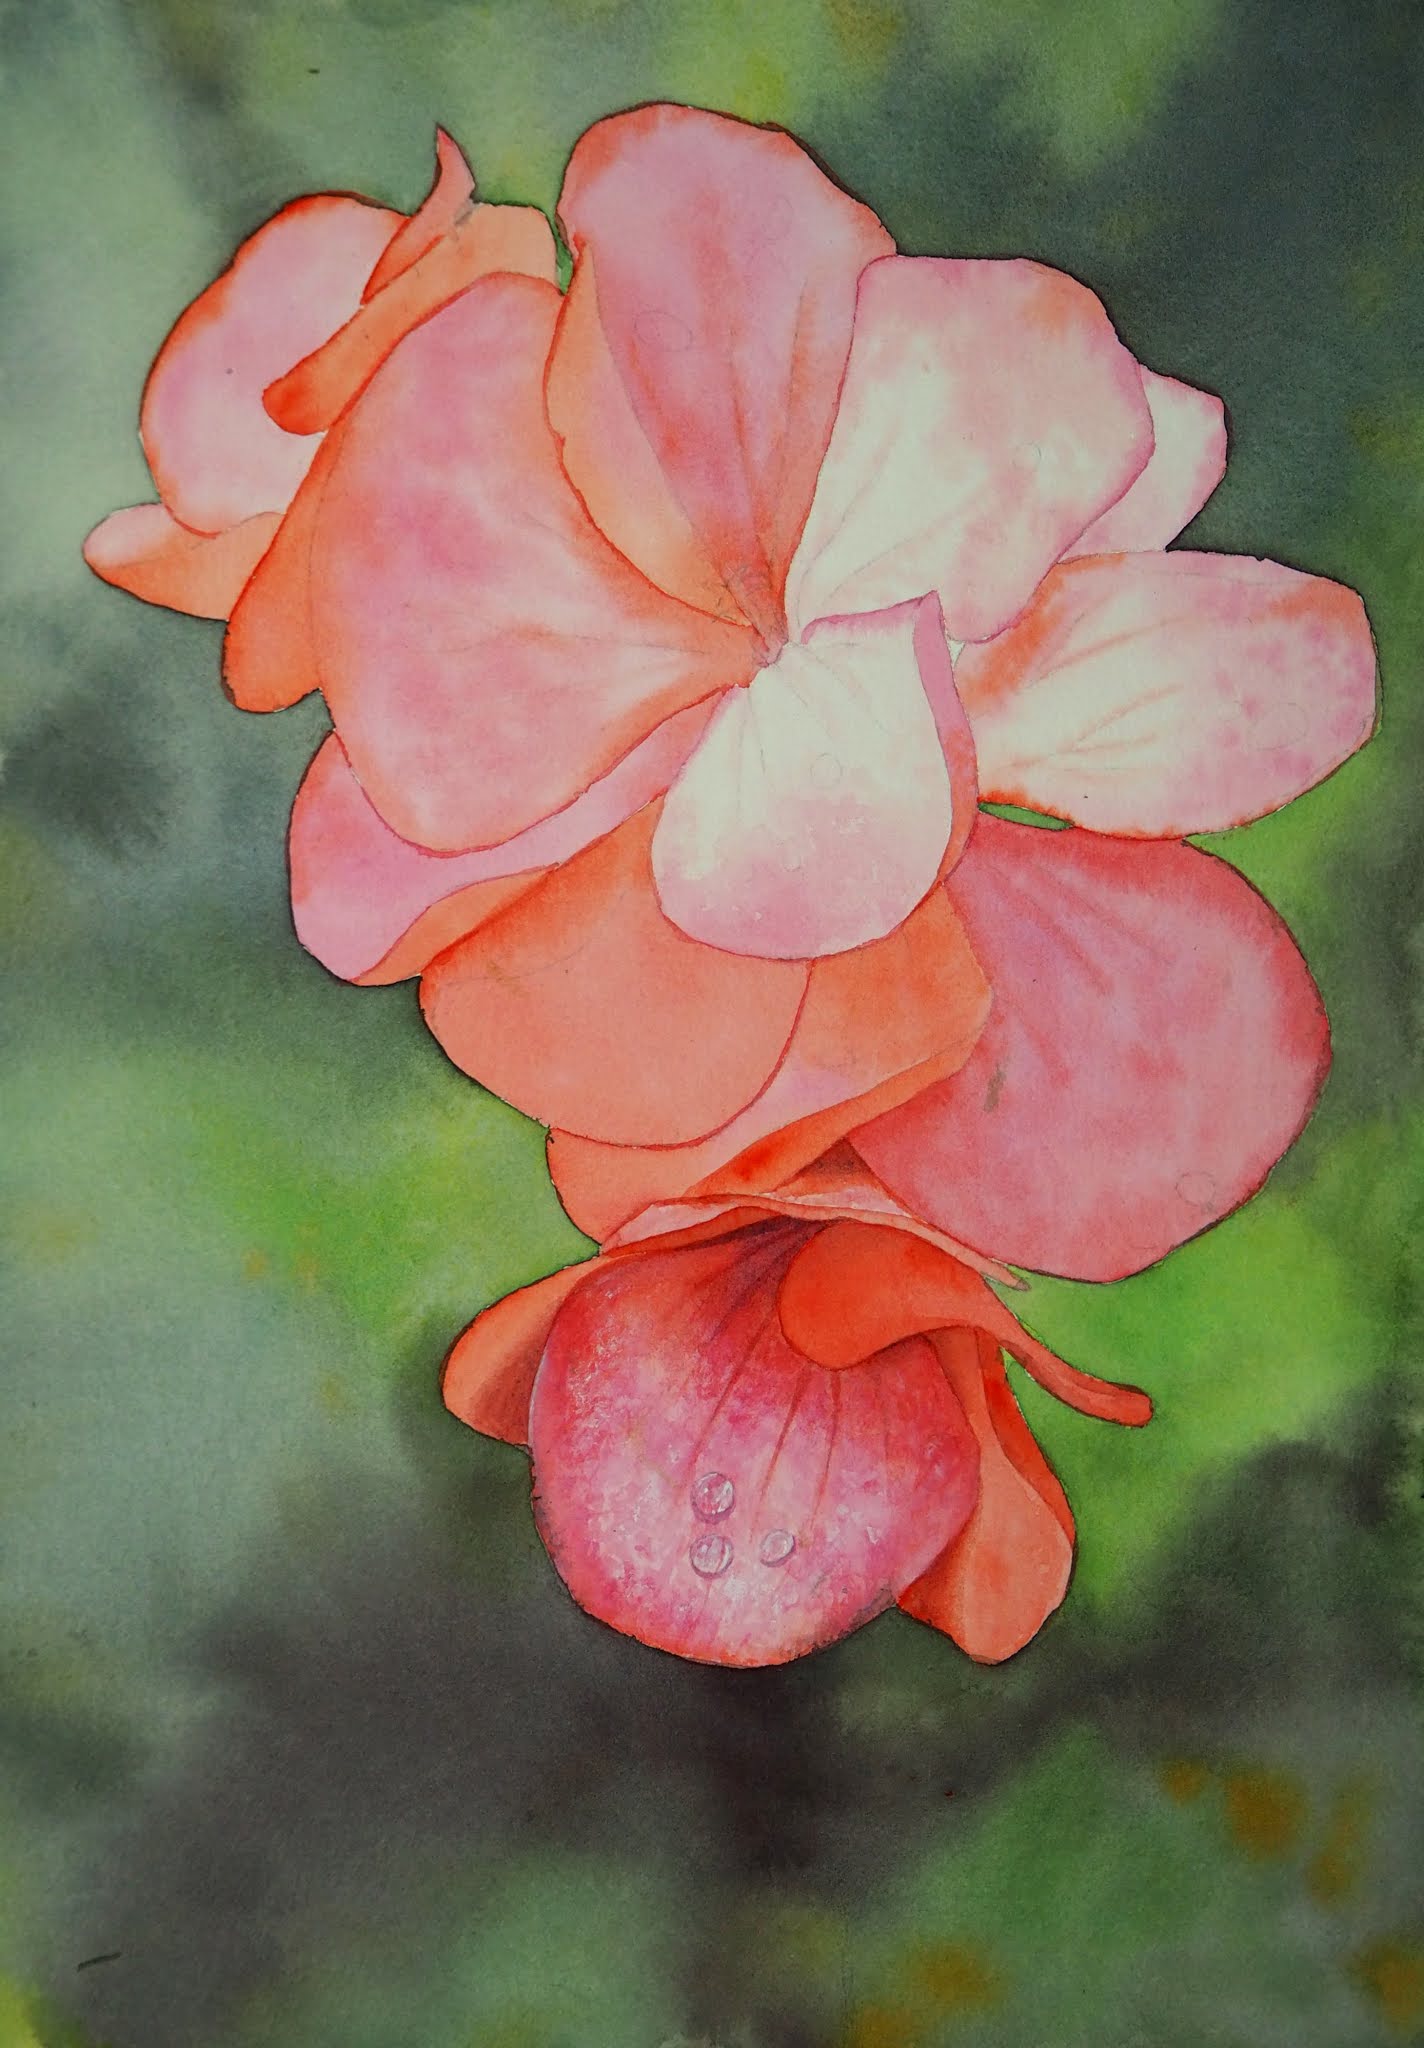
To see a more complete version of the fig view the previous posts on this blog.
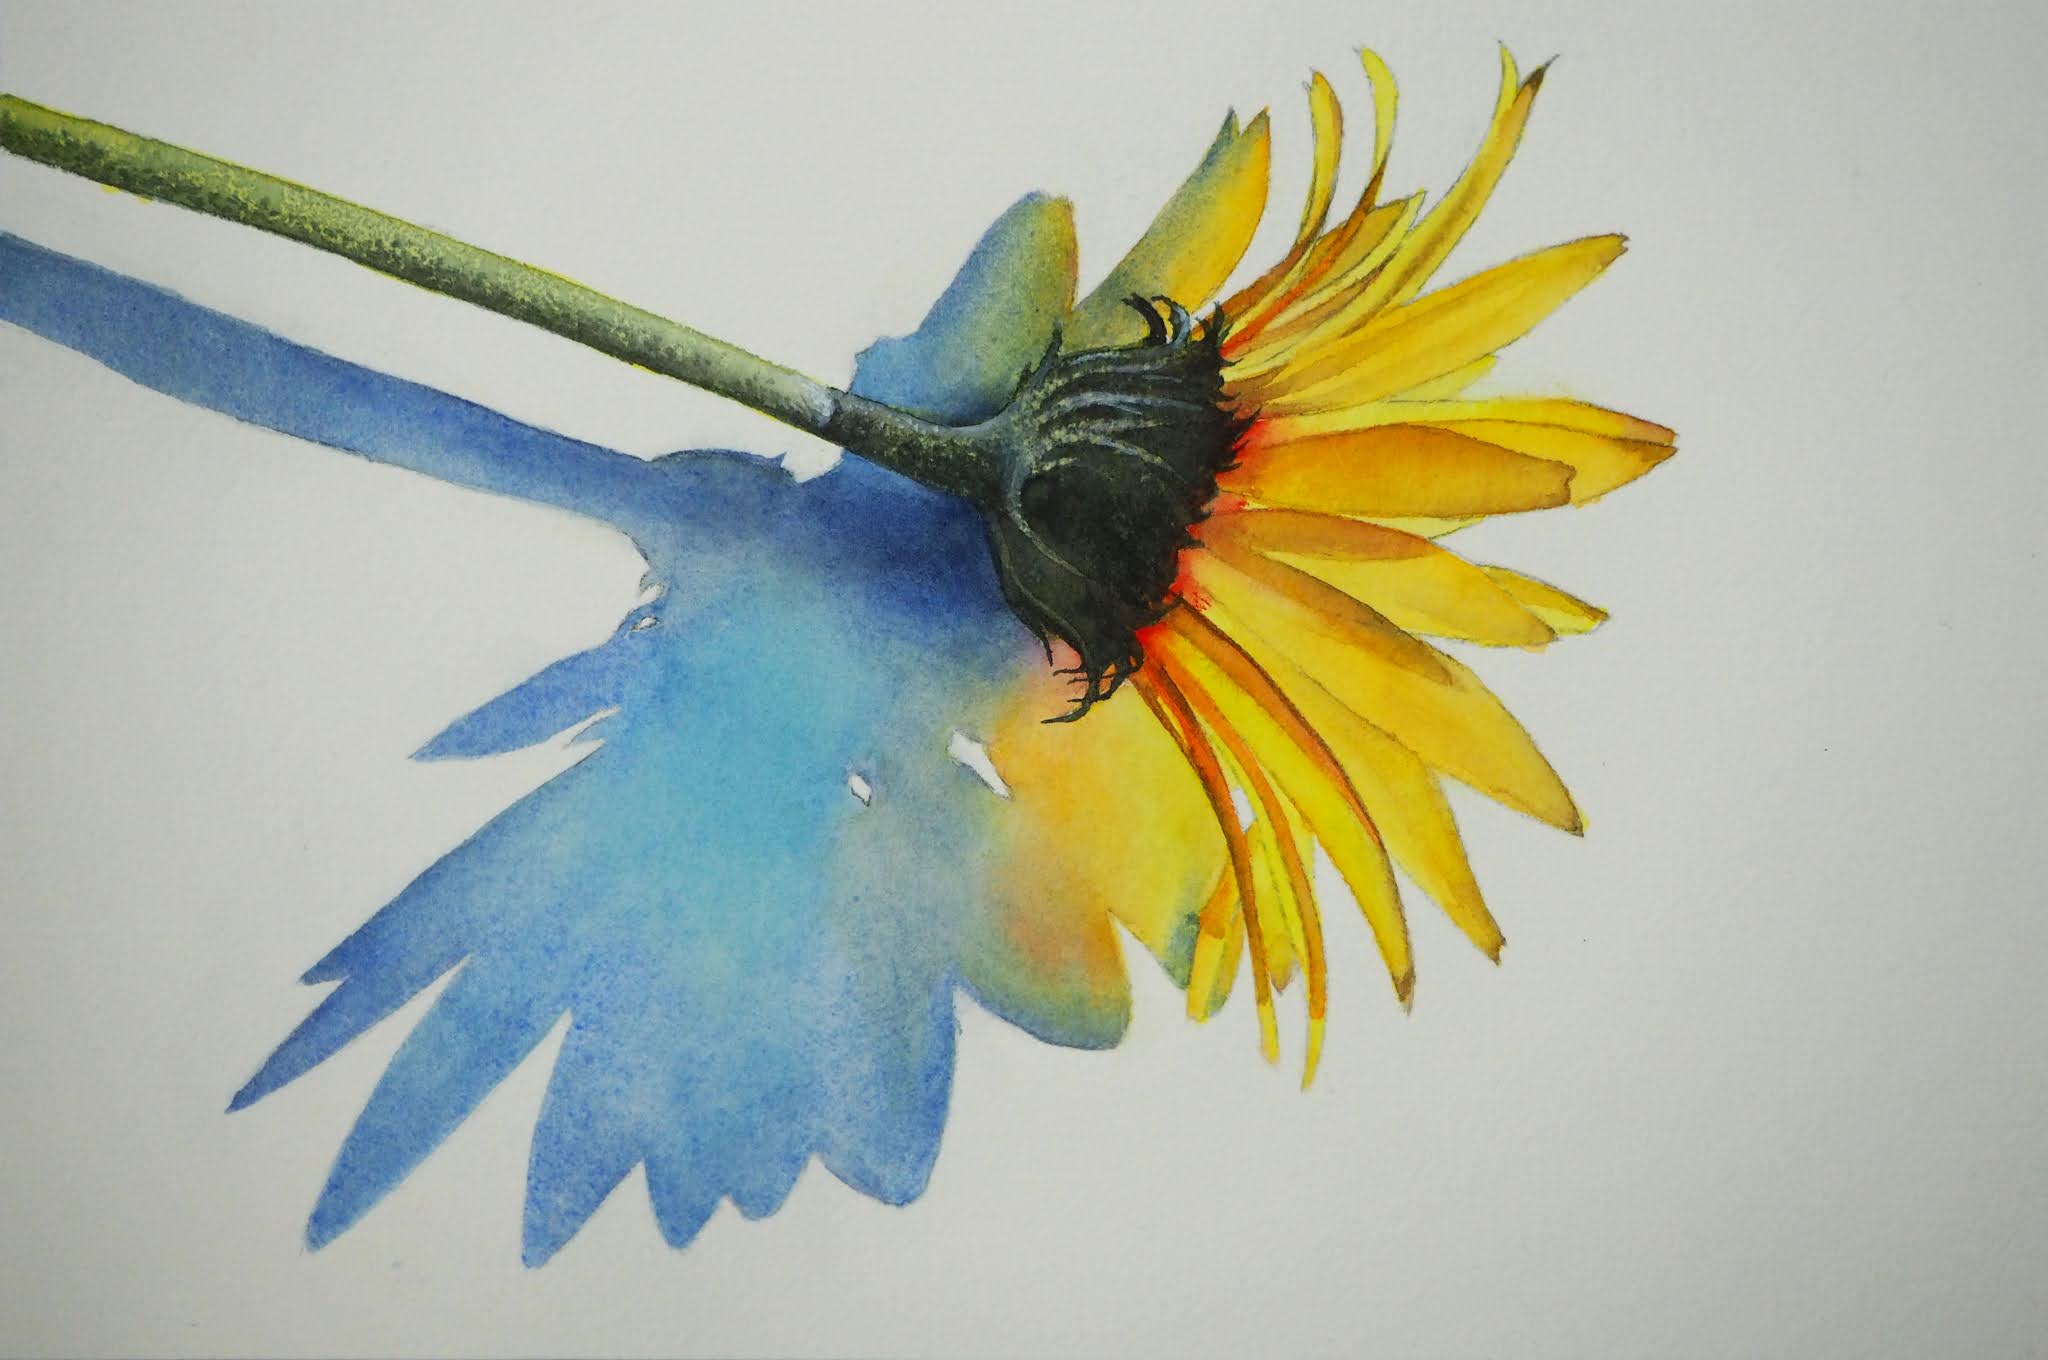
I dampened the large cast shadow area. Dampened means it's lightly wet, not flooded with water. With less water I have more control of how the paint disperses. I used Ultramarine, Pthalo Blue Green Shade, Hansa Yellow Light, Permanent Yellow Deep, and Pyrrol Scarlet. This is an interesting cast shadow due to the light shining through the shadow and reflecting the color into the shadow. This is the first pass on the shadow.
I re-dampened the shadow and added more color and some value. The darkest part of a cast shadow is near the object casting it. I added some dark blue to the darkest part (mixed with both blues and a little warm yellow and little warm red). If the petals did not have light shning through to the cast shadow it would also be dark there as well.
When everything was dry I also ran a wet brush over the shadows furthest from the flower to soften and lighten the edges of the petal shadows far away from the flower and the furthest side of the stem shadow. I dried it with a paper towel. I will most likely do one more pass on this to soften, blend and adjust values and colors. Then I will move on to the flower.
To see a more complete version of the fig view the previous posts on this blog.