9/28/21

Zoom Mixed Media September, 2021

This was before I started video 3a&b (the camera splits one video into 2 parts after a certain length).

You will notice as it gets to the end the changes made are not as noticeable.  They are the tiny details.  I worked on seeds mostly as well as some leaf edges, a tiny bit in the background  and on the edges of the strawberry as well as the highlight area.  Not sure how much more if any I will do. Still unsure about the hairs...


Zoom Mixed Media September, 2021


This is how it looked after the Zoom video last Friday (which is when I rolled my office chair over it, lol).


After Strawberry Video 1a & 1b.  I worked mostly on the leaves and background and a little on the strawberry. 

After Strawberry video 2.  I worked mostly on the strawberry and a little on the leaves.

9/24/21

Zoom Mixed Media September, 2021

This is the pelican after the Zoom class.  I still have work, especially on the background. But this is very far along.

The colors used on the pelican - white, cream, 50% grey (cool), black, indigo, crimson lake, canary yellow, spanish orange, olive green, peacock blue, aquamarine, cobalt turquoise, light aqua. 

This is the strawberry after class.  This needs a quite a bit more work as you can see.  

Notice the lines through the background.  I ran over it while it was wet with my office chair, lol.  I know I can fix it as it's happened before.  

The colors of colored pencil I am using on the strawberry - permanent red, crimson lake, scarlet lake, white, black, canary yellow, yellow chartreuse, spanish orange, dark green , grass green, indigo 


9/18/21

Zoom Mixed Media September, 2021


Photo of the strawberry after the watercolor pencil under drawing/painting.  I will need to add a background as you can see...

Pelican example.  This one is 100% watercolor pencil (Winsor & Newton).  So this one is not the same process as our pelican.

The pelican from class after the first layer of the background and then watercolor and watercolor pencil on the pelican to add darks and color.  This is the underpainting/drawing.  We will be adding lights next week as well as details and more darks and color as needed.

 Video Zoom Classes Available:

The following pre-recorded Zoom video classes are available.  Each Zoom class consists of 2 sessions/videos.  You choose which classes you are interested in and pay for only those. Send your order to Kate Lagaly @katelagalyartclasses@gmail.com.  List the video(s) you want by the subject matter, example -  the zebra, flower, and mushrooms). You will then receive an email with payment instructions.  Once payment is received and Kate processes the order, you will be sent video link(s) and handout link(s).


Watercolor Pencil​,​ Zebra​ ​- ​$35


Watercolor Pencil, Cherries - $35


​Watercolor and White Gouache, Flower - $45


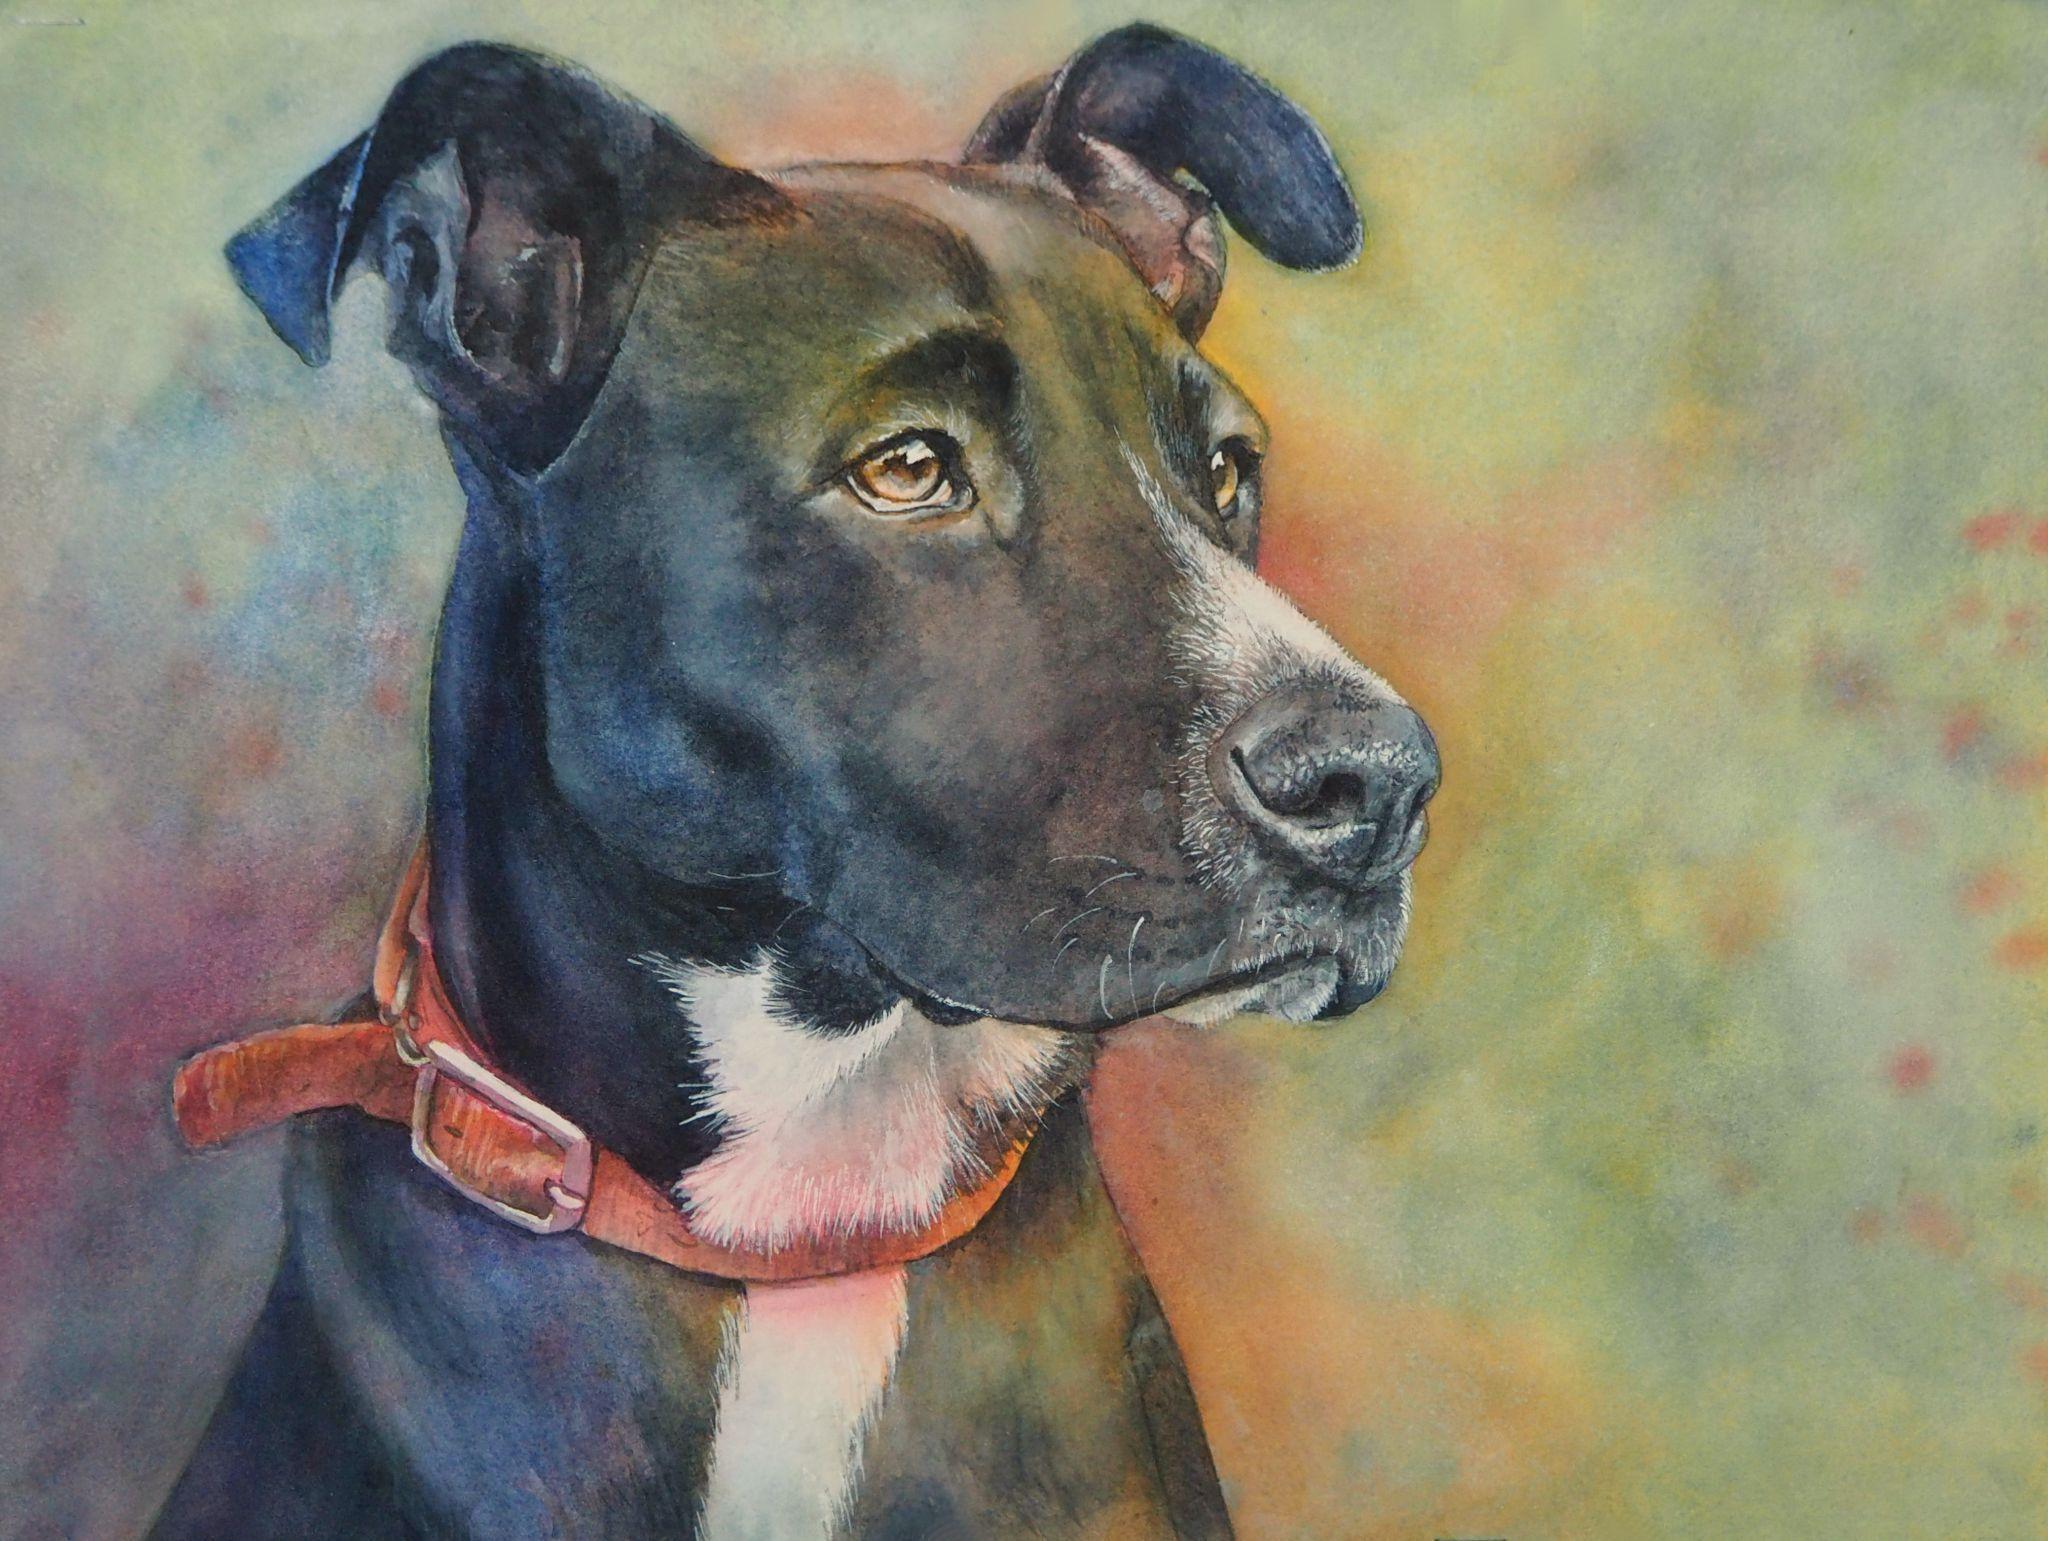
Watercolor and White Gouache, Dog - $45

WIP


Colored Pencil, Iris - $35


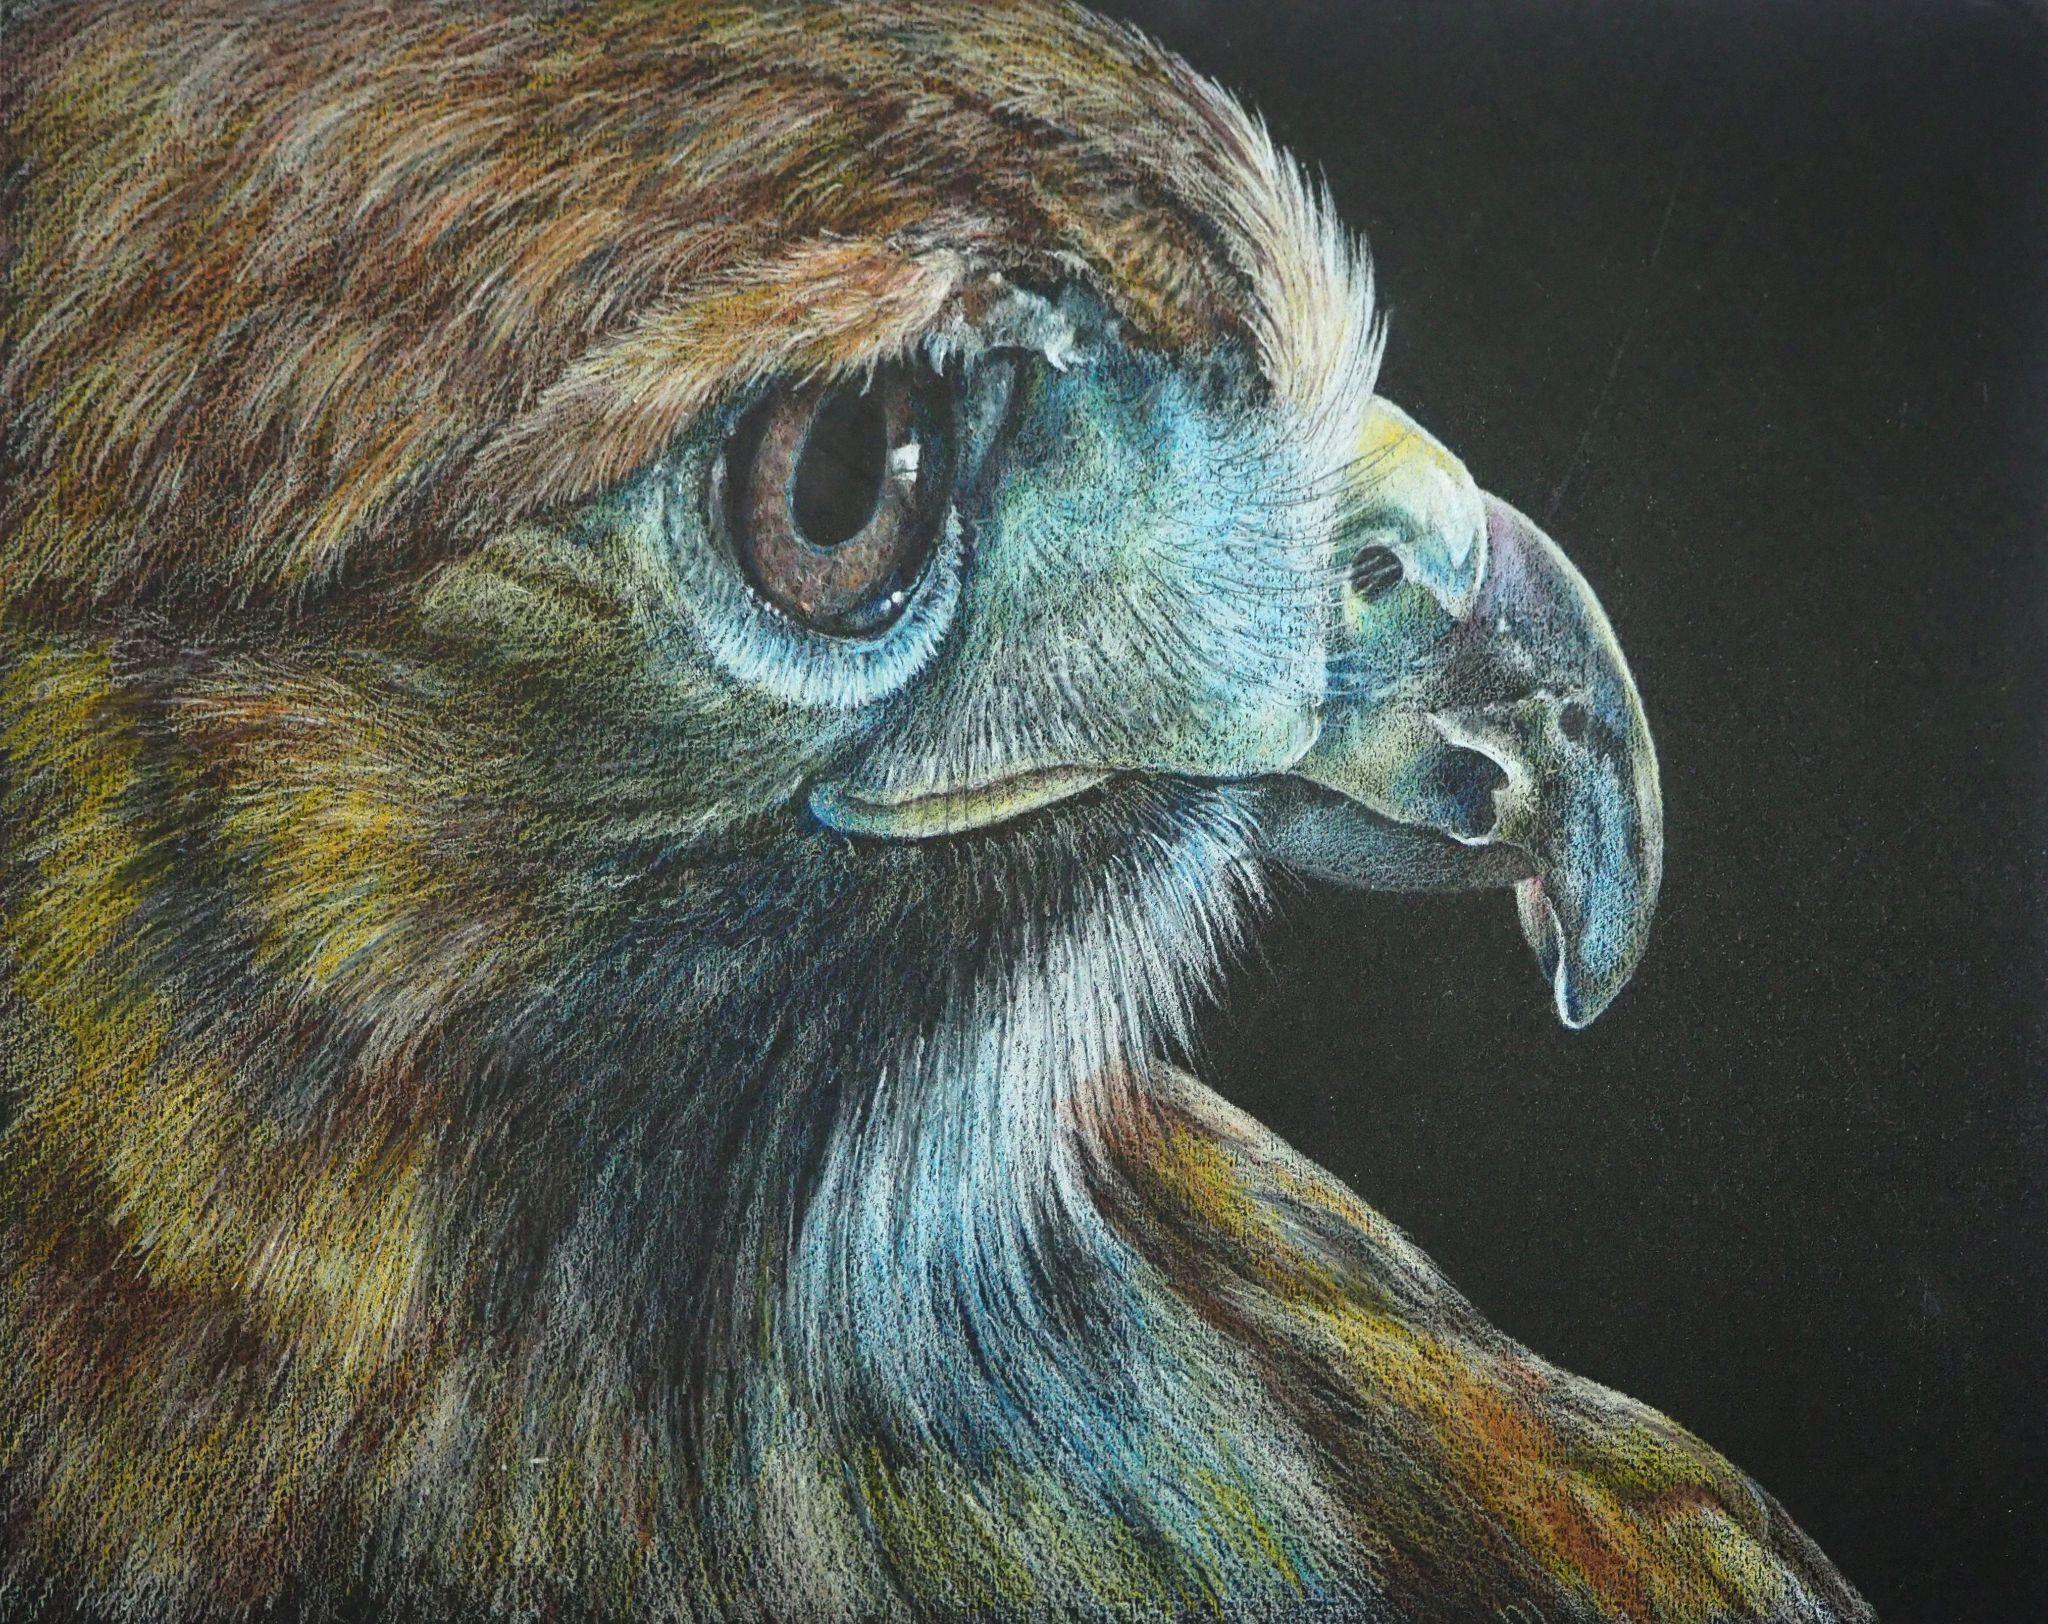
Colored pencil, Hawk - $35


Mixed Media, Mushrooms - $45

WIP


9/7/21

Kate's Classes

 2021 Workshops

In-Person


At the Art of the Carolinas

For more information or to register 

go to https://www.artofthecarolinas.com/ 


Painted Colored Pencil - Speeding up the Process Using a Solvent

In-Person

Thursday, November 11

From 5 - 8 pm


The Best of Both Worlds: Working with Winsor & Newton

 Studio Collection Colour Pencils and Watercolour Pencils

In-Person

Saturday, November 12

From 9 am - 4 pm


Colored Pencil – Creating Skin Tones and Layering Color 

over a Value Drawing

In-Person

Saturday, November 13

From 5-8 pm


Summer & Fall Classes 2021

In-Person and Zoom Classes


Zoom classes with Kate Lagaly

For information and registration 

Email Carolyn at Carolyn_Langley@ncsu.edu


Mixed Media: Colored Pencil over Watercolor and WC Pencil

Zoom Class

Fridays, September 17 and 24

From 10 am - 12:30 pm


Mixed Media: Colored Pencil over Watercolor and Pen & Ink

Zoom Class

Fridays, October 15 and 22

From 10 am - 12:30 pm


At the North Carolina Botanical Garden

100 Old Mason Farm Rd, Chapel Hill, NC  

Go to -  http://ncbg.unc.edu/register 

(click LEARN near the top, 

from the drop down menu choose ADULT PROGRAMS,

 on the page click View and Register for Classes)


Intermediate Expressive watercolor

In-Person Class

Wednesdays, October 6, 13, 20, 27

From 1:15 - 4:45


8/28/21

NCBG ACP August, 2021


I added lights and darks and the color.  I used crimson red, indigo blue, white, grass green, dark green, yellow chartreuse, pale vermillion.  I used a little scarlet lake in the warm red areas.  I used white to smooth some areas and then re-added color.  I paid close attention to the values. 

I demonstrated adding light and dark to the background. I used white (could have used cream) as well as light and dark umber.  I used the dark and light to make some things pop forward using contrast and some to recede by diminishing the contrast. It's still a work in progress.  I added some yellow as well, may add more.


NCBG ACP August, 2021


This is how the piece looked before class.

I worked on the background and on the bottom right leaf in class.  I added darks and lights to make leaves and apples pop forward or to move them back into space.  I worked on the upper left corner erasing some of the color and I added dark to the upper right corner.  

I added some leaves and branches after class. I kept the amount of leaves and branches simple for class so that you would not be overwhelmed with so many leaves and branches.  Not sure if I will add more, might add some on the right side and upper left.

I added some yellow and red lightly to the background.  I added more white to the highlights.  I lifted some darks that were too strong. 

I lowered the contrast of the branches and leaves as they went off the page.  This helps stop these shapes from being roadways out of the artwork. 

I worked on some edges and added more color to some of the dark areas.

I re-add white to the highlights throughout the process and then again at the end before I spray workable fixative and frame the piece.


8/21/21

Zoom Mixed Media August, 2021


This is the piece after the Zoom class ended.  I had worked on this before class on the left side, the smaller mushrooms and a little of the background.  During class i worked on the middle top two mushrooms and the middle bottom on the stems and adding in the shadow as well as the right side background.

At this point in the process, when the wet mediums are completed, I start working dry with the colored pencils.  I focus on the values, the highlights usually first and the darks usually second with the medium values mixed in as needed.  I establish the values and after that start adding details.  I also consider color with the values, but it is less important than the values.  The values are the structure.

For demonstrations in classes, I work in small areas.  But my typical way to work is all over the piece bringing it up to completed as a unit.

The main colors I used were white and cream as well as indigo blue and dark umber, so 2 light colors and 2 dark colors.  I also added some colors for color such as burnt ochre, canary yellow, Spanish orange, pale vermillion, true blue, 50% warm grey (not sure if i missed any...).  As I finish I will add colors if necessary, but these will be the main colors.  

I will use a drawing stump to blend and an eraser to remove areas or make textures.  I will also work on the edges and the background as I go.

8/19/21

NCBG ACP August, 2021


I worked on two petals before class.  I demonstrated a petal and the center part in class.  I used white, crimson red, crimson lake, yellow chartreuse, grass green, indigo, scarlet lake.  

I do these pieces in layers, the layers help with blending.  Lighter colors can be helpful for additional blending as well.  Sometimes I will add a light color like white, cream, or yellow over a dark or medium colored pencil area and the re-establish the local color and value on top.

You can used a stiff scrubby type brush to push the color into the textured surface for blending if you wish.  I usually use a scrubby brush on the first layer.  Clean the scrubby on a scrap piece of paper by rubbing it on the paper.  When I use a scrubby, I keep several scrubby brushes for various values of colors when working.

NCBG ACP August, 2021


Before class I worked on one apple, a leaf, and some branches with the colored pencil.  I went on to work on several more apples, branches, and the large leaf in class.  I did a little more work after class on the apples and big leaf.  I used white (Prismacolor white in general and for spots and Stabilo white for some spots) , carmine red, crimson red, yellow chartreuse, Spanish orange, grass green, dark green, indigo, pale vermillion, dark umber.

I focused on form, adding the subtle shadows and highlights. I also adjusted colors, added texture, added details, and worked on the edges.  I will continue doing these things with the colored pencil.  After I get closer to being finished I will study the background and decide what adjustments may be needed. 

Focus mostly on the subtle values in this piece.

8/17/21

NCBG ACP August, 2021


This is how it looked after class and after I re-established the drawing.

This is how it looked after the Zoom session today.  I Worked on another apple, demonstrated some branches, and worked on the leaf.  I used the same colors as I used in class om the apples and branches.

I shaded dark phthalo green onto the dark part of the leaf.  I added dark red in the darker parts. Then I wet the dark part of the leaf to dissolve the color.  I used white on the light parts of the leaf and wet that as well. 


I worked on the apple and the leaves and branches that were left using all of the same colors.  I wet them to dissolve the color.  I may do a few more things this evening or tomorrow morning before class so that I will no longer need to use water (unless necessary later on or some reason).

8/13/21

Zoom Mixed Media August, 2021


This is the one I demonstrated during class.  I wet the paper (it was very wet), dropped in warm and cool yellow, and then added salt while it was still wet and shiny, but not puddled.


This is an alternate option for mixed media.  I did this before class so it would be dry during class.  This could be called everything but the kitchen sink.  I wet the paper (very wet), dropped in color ( warm and cool yellow, warm and cool red, purple blue and green blue).  While it was still wet I used 'sanding' to add watercolor pencil texture.  Then, while it was still wet but not puddled, I added salt.  I set it aside to do its thing overnight.  The photo below shows how it looks after some work has been done.   

This is how this looked at the end of class.  I showed how to add light back into the piece - using as eraser, lifting the paint with a stiff flat brush (I used the small eradicator I ordered from Rosemary & Co., a British company), and using the white watercolor pencil from the Faber Castell Albrecht Durer set (by shading with the white and wetting it and also by using a wet brush to get the white from the tip of the pencil).  The process for this one is to re-establish the white/light, add darks, fix any issues, and then add details.


This is the one I did before class so that it would be dry for the next step.  I wet the paper (it was very wet), dropped in warm and cool yellow, and then added salt while it was still wet and shiny, but not puddled.  The green on the left is from me grabbing the paper with wet paint on my thumb, ooppss. The photo below shows how it looks after some work has been done.   

This is what this on looked like at the end of class.  This has had a layer on the bottom of color (reds) on dampened paper, sanding with watercolor pencil, and a little more salt.  

The top has had both blues (green and purple blue) on dampened paper and the edges were gently blended.  Later I added a warm red glaze to knock back the bright color.  I added some blue in background spaces between the mushrooms to connect the top and bottom.

I added layers of light color on the mushroom with both watercolor pencils and watercolor.  I also started adding some medium values and a few darks.  You can do this whole piece using watercolor only, watercolor pencils only, or a combination of both. 

We will do the finishing touches next week with colored pencils.

8/12/21

NCBG ACP August, 2021


This is step 1 of the underpainting.  In these layers I work on adding color and texture.  The layers are more loose than the final layers will be.  I consider values, lights and darks, but not overly so at this point.  I wet the paper (very wet) and used watercolor pencils and the small wire mesh strainer to do "sanding."   This adds texture to the background, apples, and leaves.  

This is not necessarily the way I want the background to look in the end, but I will leave it until later.  

For this layer I used the reds, yellows and greens - warm and cool yellow (light yellow glaze and cad yellow), a warm and cool red (dark red and pale geranium), and greens (light green and dark phthalo green).


I then shaded watercolor pencils onto the apples and stems.  This is after 2 layers.  For layer 1 on the apples, I used a warm and cool yellow (light yellow glaze and cad yellow), a warm and cool red (dark red and pale geranium), and greens (light green and dark phthalo green).  On the stem I did phthalo blue first and later a layer of dark red and then a layer of brown. I did a second layer on the apples to add more color.  I will demo a leaf for you now that I can see them on my painting.

This is after re-transferring parts of the drawing I lost.  See the process for re-transferring in a post below.


I transferred the drawing onto the prepared surface.

Be aware that all of the photos are not exactly as the pieces look in person both in color and values.

Transferring Drawings

Sometimes, during the process of making art, the transferred drawing can get lost. I have a few things I do to combat this or to fix any issues.

You can make marks on your paper to realign your drawing if things go awry and/or you can tape the paper to the side of the watercolor paper and leave it taped there until after you do the first few layers.


This is my transferred drawing, you can see on the right that the paper is still attached and can be folded behind the watercolor paper when I go to work.  You can also see the triangle marks on the left.  


I also have a way to re-transfer when my lines are hard to see in some areas.  In the case here I could no longer see the leaf on the left and a few other areas.

I cut out some of the background paper around some of the shapes in the drawing and re-taped and re-transferred.  It's not perfect, but it works well.  I need to do this at times on my pieces.


7/28/21

Zoom Colored Pencil Class June, 2021

I worked all over adding dark and light values, refining areas, cleaning up edges, finishing some unfinished areas, etc.  The one thing I did was remove the tiny bit of flower peaking out on the upper right.  I then used a grey pencil and a blending stump and stik-tak to help camouflage the stained imprint left after I erased the flower.  I may need to do a tiny bit more to hide it and to the background, but it's close.  I am mostly done, but will spend time looking at it overall and making tiny corrections if needed.

7/27/21

Zoom Colored Pencil Class July, 2021

I have continued to use the 6 colors (peacock blue, Copenhagen blue, yellow chartreuse, Spanish orange, Scarlet lake, pomegranate).  I am continuing to layer and blend (with the drawing stump).  Every so often I will use white and/or a colorless blender towards the end to further the blending and/or add some white (especially if my light areas are dirty or have too much color and won't erase).  I still have more layers and smoothing to do and some areas to detail, but it's mostly completed.


7/24/21 NCBG Beginning Colored Pencil May, 2021


I have worked more on the background and a little on the blueberries.  Now is the time where I will study this and make changes and additions to further refine.  I will spend most of the time looking at it.  I already know I am not satisfied with the stem.  I need to look there first.

Another thing I will consider during this time is where to crop this piece.  I do not plan to leave all of the empty space around it.

7/24/21

NCBG Beginning Colored Pencil May, 2021


I worked on the stem and parts of the blueberries that were incomplete or not started yet.  I also used Peacock blue with a little Copenhagen blue to start a background.  I added the background because I have several stains on the white paper.  I shade the peacock, blend with a drawing stump, erase for some light areas and add Copenhagen and more peacock for darker areas and use the blending stump again. 

I did the next step on the bottom part of the background compared to the photo above this one.   I blended, used the eraser to make light areas, added some Copenhagen to darken in some areas, and blended again.

I will finish the background.  After that I enter the final part of the process.  I set this up in a place that I can look at it to refine and make corrections.  This part of the process usually takes weeks but can take months (especially if the piece had some struggles). 

Notice the more layers of pencil and blending the smoother it gets.