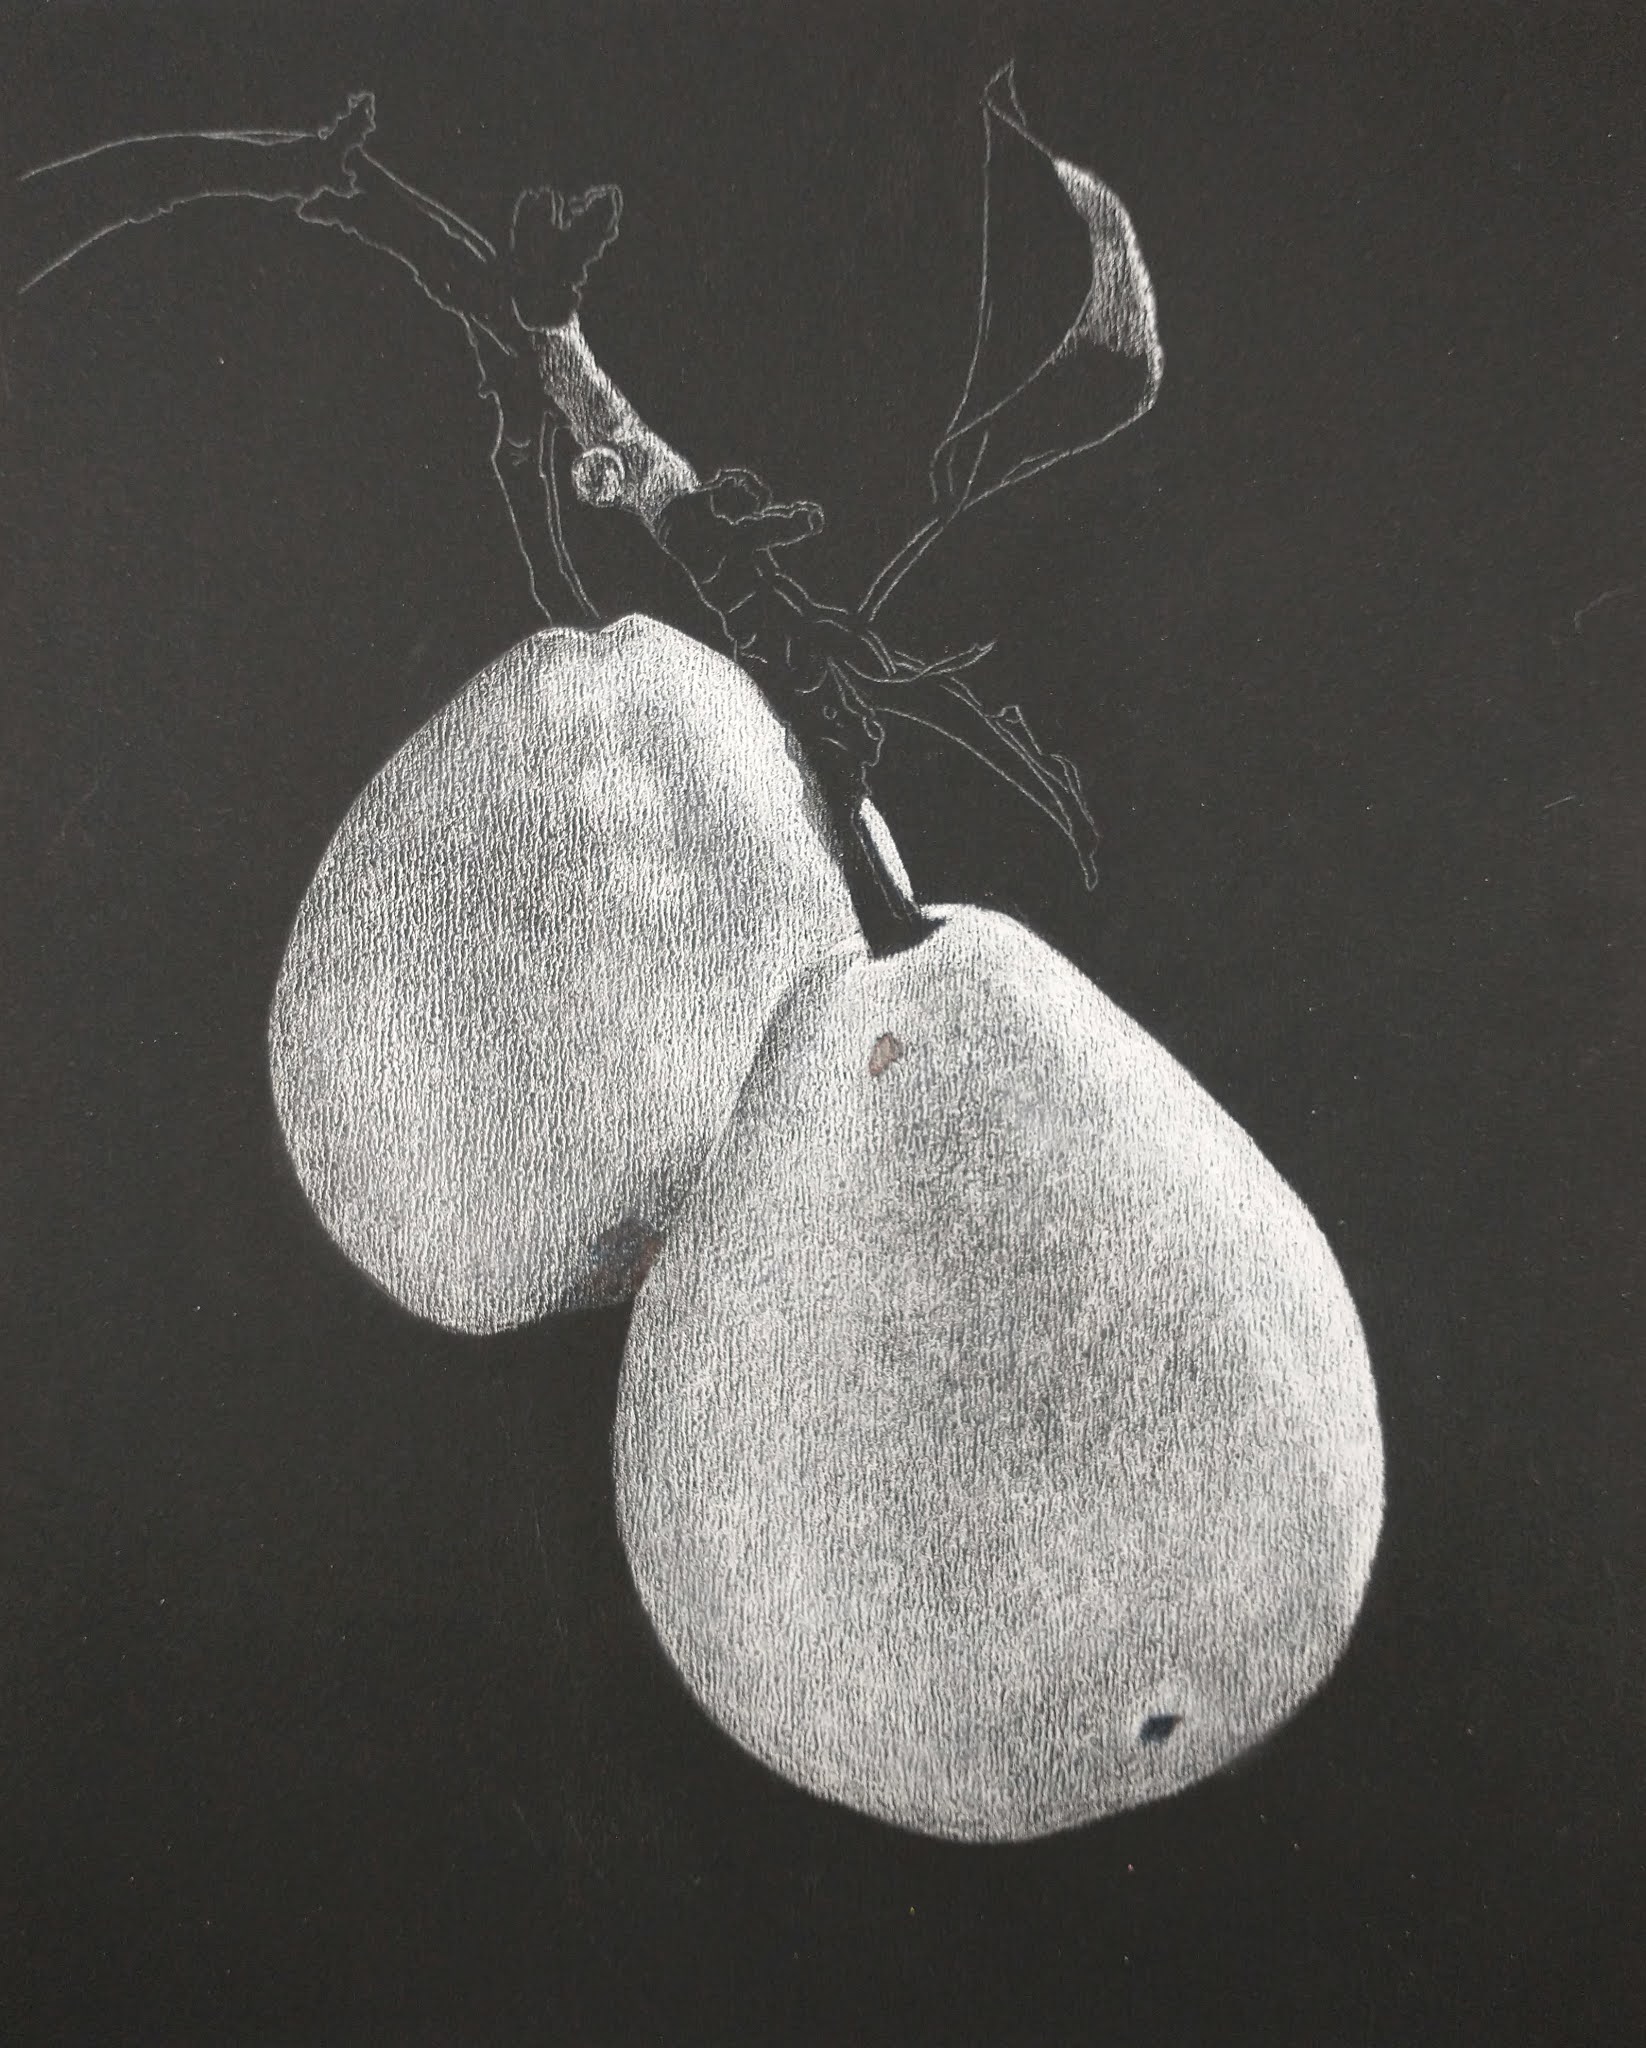
This is step one with a white value study. I saved some areas for future demonstrations in case they were needed.
The photos taken of these projects were taken in various lighting situations with different cameras, so there will be differences in color and value.

I shaded Canary Yellow over the yellow green and red areas on the pears. I used the side of the pencil and added it lightly. I finished a little more of the branch and leaves with white.

I added Grass Green, Dark Green shading some of the green areas. I have not added any red yet, the black showing through looks reddish in the middle of the front pear.

Blurry photo and it's a little light as well, but it shows the addition of the red to both pears. I added Carmine Red and the darker spot is Scarlet Lake. In the past I have used just Scarlet Lake, but Carmine Red is a good color for this pear if you have it.
I added Scarlet Lake to the back of the leaf and the branch (after finishing the white values on the branch). I added the Grass Green, Dark Green, white, and some Yellow Chartreuse to the leaves and Yellow Chartreuse to the Pear in some areas.

I started adding Black Grape and Indigo Blue, and a small amount of Dark Brown to the branches to add darks and some White to lighten some areas. I did the same to the back of the top leaf.
I used Dark Green and Indigo to darken areas on the green parts of the leaves and Yellow Chartreuse and White to lighten areas.
On the pear I used Scarlet Lake to add the texture in the red areas. I used White, Carmine, and Scarlet Lake to texture the edge on the front pear where it turns from light to dark. I used Indigo to start adding the dark squiggly texture at the bottom of the pear. I used Indigo and Black to start adding the dark spots on the pear (Black grape can be used as well and White to lighten).
From here forward I will use all the colors we have been using to refine the pears and branches. I will add details, adjust values, adjust color, add texture, smooth where needed, and manage my edges. I will use Black on the outside to help with edges if they will not be lifted (fading it out from the edge so it looks natural if needed).
This end process is spent usually over weeks (or a month or more for larger pieces) mostly looking, evaluating, and then small periods of time correcting things.