
Texture on the black paper using the slice utility knife (a ceramic knife). I have found that for this to show up and not damage the surface it needs to be coated with a good layer of colored pencil.
The slice utility knife (blade retracted) and the texture on white paper.

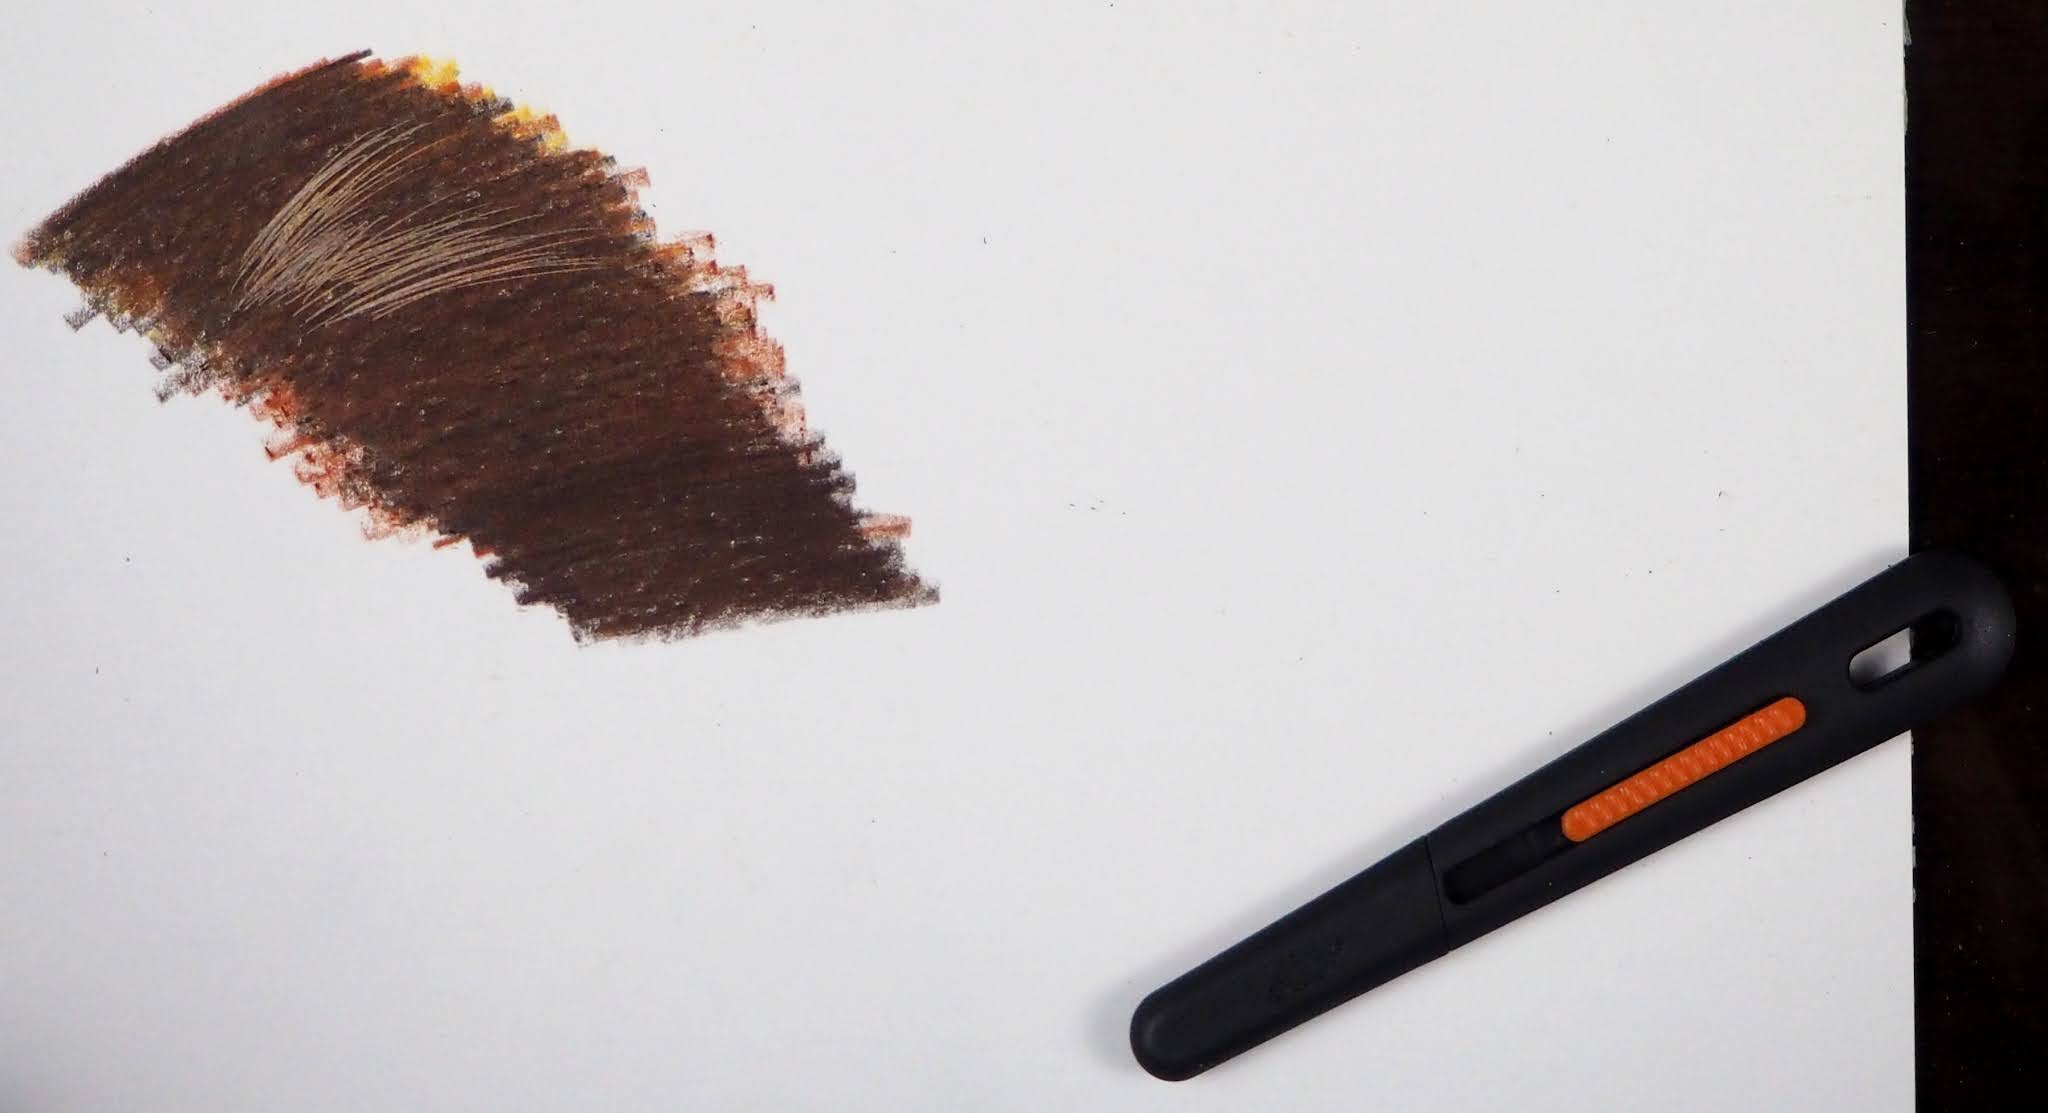
Texture on white paper.

Before class I added light layers of yellow chartreuse, Spanish orange and pomegranate (cool red).

This is how it looks after layers of the warm and cool yellows, warm and cool reds, purple blue and green blue. I have shaded and blended the layers with a clean blending stump (clean it on sandpaper). I have also used the side of a pencil top eraser to lighten areas. The eraser is used like a drawing instrument to remove pencil from light to dark by varying the pressure as I erase. I also use my Tombow Mono Zero erase for edges and small areas. I used to use the edge of the pencil top to do this task before I had the Tombow. This was a bit rushed since we were short on time, but I can smooth it out as i add subsequent layers. This process is more delicate that the others I do and it's a great way to learn color mixing with colored pencils. I will post more photos as I work on it.