2/6/14

Aqueous Acrylic & Gouache (January & February 2014)

Acrylic (sorry for the quality).  This is after I worked on the background quite a bit, before class.

Acrylic. This is after class where I started to add some values and details.

Gouache (sorry for the quality).   This is after I worked on the background quite a bit, before class.

Gouache. This is after class where I started to add some values and details.

Acrylic.  I added some color and value.

Gouache.  I added some color and value.

Acrylic.  I transferred the drawing, swirled rubber cement in the hair and background areas, and painted with acrylic (light and watered down) over those areas.  I will repeat this 3-5 more times.

Gouache.  This is the drawing transferred with rubber cement 'swirled' onto the hair and background areas.

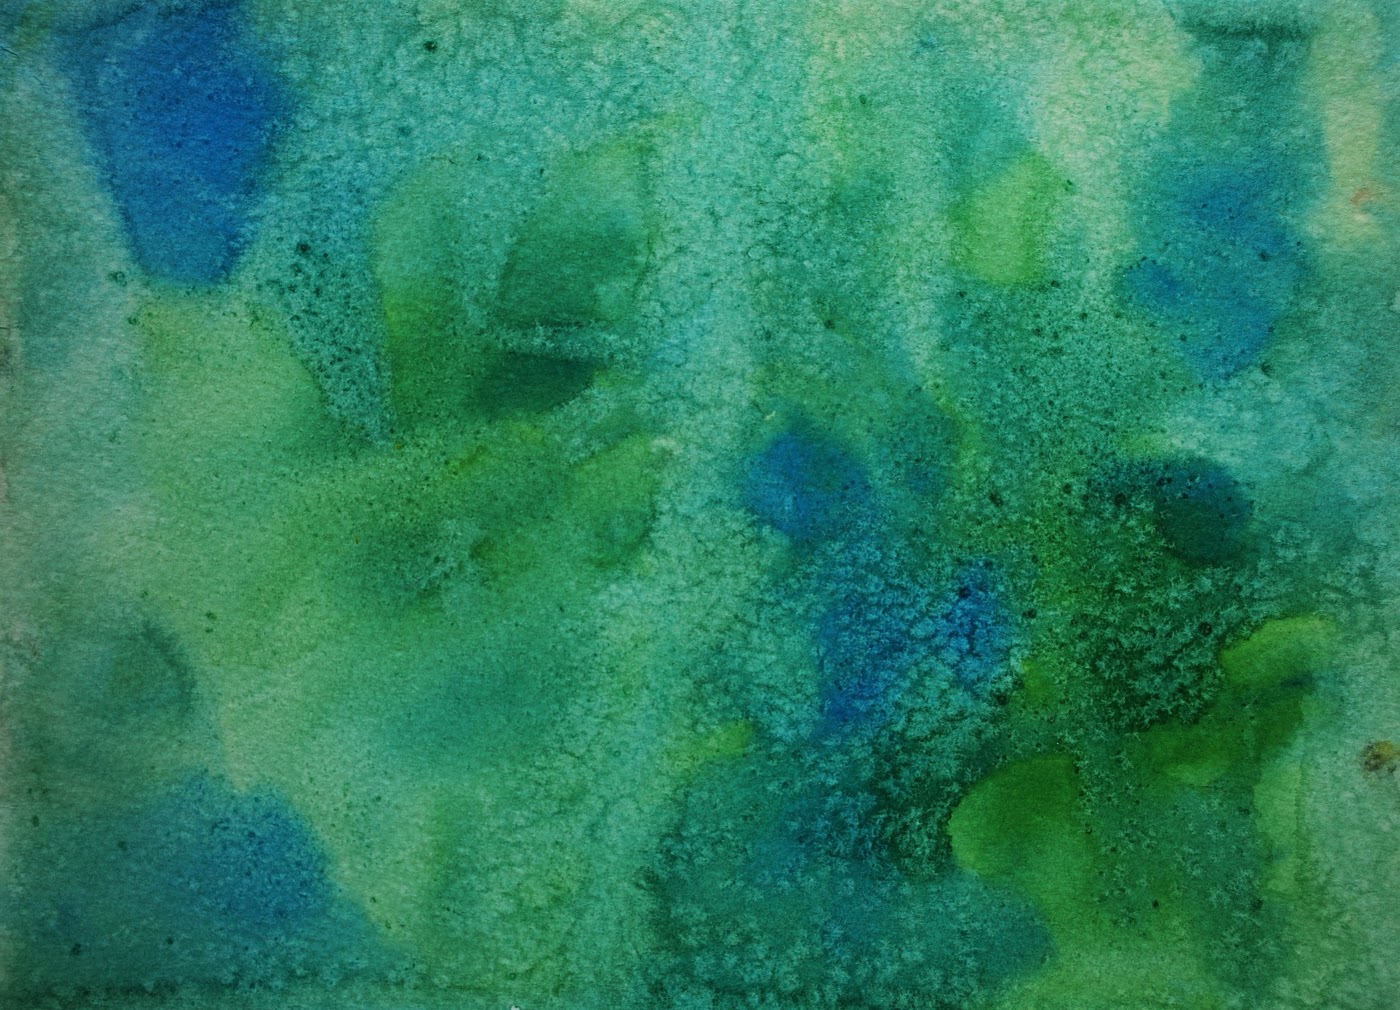
Gouache (you can do this with either medium).  This is a rubber cement technique for making backgrounds.  I swirled rubber cement onto the paper.  Let it dry, and painted gouache onto the paper.  I plan to do this 3-5 more times.

2/5/14


Photos for classes

1/23/14

Continuing Watercolor (Jan. & Feb. 2014)

I lightly shaded the swan.  I  worked on the reflection area and added the leaves in yellow and orange with a little dark in the middle.  After the leaves were dry I added a glaze of green over them.  Keep the strokes in the water horizontal, it helps.

I worked on the head of the cat very dry adding quite a bit of detail as I went.  I did the back of the body very quickly.  I mixed and used several browns.  There is more to do, but it is coming along.

I re-demoed the chick, this is the first layer.  I worked damp (rather than wet) on the chick and dropped in the various colors and values.

I re-demoed the egg.  I kept the pencil lines mostly out.  I dampened the egg and worked the color in the shadow pattern.

Aqueous Acrylic & Gouache (Jan. & Feb. 2014)

Acrylic.  I mixed some darks (purple, red, and green) and started painting in the negative (background) sections.  I painted them in paying attention to values and subtly altering them (don't paint them solidly). 

Gouache.  I mixed some darks (purple, red, and green) and started painting in the negative (background) sections.  I painted them in paying attention to values and subtly altering them (don't paint them solidly).

Acrylic.  I started adding a few details and corrections, adding values.  I will do this in class.

Acrylic.  I used white and water, starting in the lightest area pulling it out from there to make smooth transitions from light to dark.

Gouache.  I used white and water, starting in the lightest area pulling it out from there to make smooth transitions from light to dark.

1/16/14

Continuing Watercolor (January & February 2014)

I mixed a blue green (pthalo blue and pthalo green) and added in a little burnt sienna to tone it down a bit.  I also wet some indigo.  I then wet the background.  I put the color in using horizontal strokes.  I varied the values.  I added some stokes of yellow as well in areas. 

I wet the chick and added color paying attention to the values.  I added the eye, fixing it and a few other areas on the second pass with white gouache.  I added more texture, detail and value moving round the chick.  I wet the bottom ground/shadow to anchor the chick and dropped in a brown and a green and allowed some of this onto the chicks feet.  It needs a bit more work.

I wet the egg and used a brown color to lay in the shadow area feathering the shadow area outward.  After it dried I added the cast shadow underneath the egg.

Aqueous Acrylics & Gouache (January & February 2014)

Acrylic on a canvas panel/board.  I wet the panel, dropped in color, and placed plastic wrap on it 'scrunching' it to make the texture.  I removed the plastic wrap after it was dry.

Gouache on watercolor paper.  I wet the paper, dropped in color, and placed plastic wrap on it 'scrunching' it to make the texture.  I removed the plastic wrap after it was dry.
Gouache on watercolor paper, applied loosely.  I wet the chick area, mixed some brown (try the 3 primaries).  We will add values and details on top of this loose beginning.

Acrylic on watercolor paper, applied loosely. I wet the chick area, mixed some brown (try the 3 primaries).  We will add values and details on top of this loose beginning.

Acrylic on watercolor paper.  I wet the paper, dropped in the color, and added salt.  Add the salt when it is shiny, not a puddle.  Allow to dry and swipe off the salt.  This is the background for the white cat.

Gouache on watercolor paper.  I wet the paper, dropped in the color, and added salt.  Add the salt when it is shiny, not a puddle.  Allow to dry and swipe off the salt. This is the background for the white cat. 

Gouache on watercolor paper.  I made a medium dark color and painted the egg shape flat color.  We will shade it with white gouache.  We will do the same with acrylic.

Gouache on watercolor paper.  I made a medium dark color, wet the egg shape with water, and added color where the shadow was gently feathering it out.  We will shade it  further with color and with white gouache.  We will do the same with acrylic.

1/9/14

Colored Pencil (September/October 2013)

I have worked more on the tiger, adding more values/contrast as well as detail.  It could be done but I'll wait and decide later.

Continuing Watercolor (November/December 2013)

The latest version of the lizard.  I have added more darks and details.  It still does not seem finished, but close.  I need to think about what it needs. 

1/2/14

Continuing Watercolor (May/June 2013)

Watercolor and a little gouache.  I of course have done a lot of work since class, mostly over the last 2 days.  I have added values, detail, and color -lots of layers of all 3.

12/19/13

Tuesday Morning Class

Watercolor and gouache on masonite primed with Kilz 2 and prepped with Absorbent Ground.

Continuing Watercolor (November/December 2013)

I continued work on the lizard adding color, light values, and dark values and creating texture with salt (add salt when the paper is still shiny but not a puddle).  I added a little detail to the background and shadows to the rocks.  I then worked on adding detail, shadows, and texture to the lizard.  It needs a little more work, but it's close.

12/12/13

Continuing Watercolor (November/December 2013)

I have been working on the background adding dark shapes, sharpening up edges, working on details on the berries and leaves, etc.

I have added a light area back in (with gouache and watercolor) and added a few more details on some berries.

I have added color to the left of the car by the trunk.

I have added more color and a whole lot of details and values.  I have been sharpening up the edges and making choices about darks and lights to create contrast in the painting (so that the car pops forward visually).

This started with the blue/green (pthalo green and pthalo) background.  I wet the paper and dropped in the color working wet-n-wet.  _ used Oxide of Chromium mixed with aueolin for the cactus shapes.  After that dried I wet the bottom background and put in a yellow color (burnt sienna and aureolin mixture) as well as a little red and blue gray and then I used sanding (watercolor pencils and sand paper).  Then I worked on the lizard adding the blue/green (pthalo green and pthalo blue) and gray (pthalo blue, pthalo green, alizarin, van dyke brown), dropping in some of the yellow background color and then adding salt for texture.  Pay attention to the shadows on the lizard.

12/4/13


Photos for class

Continuing Watercolor (November/December 2013)

I have added a few leaves in the back and will ad even more as I go making the background mostly medium and dark shades. 

I wet and dropped in color on the trunk (sienna brown and cerulean).  While still wet I 'sanded' in some texture using sand paper and watercolor pencils.  I wet the roof, dropped in color, and added salt while it was still wet but not a puddle (indigo, cerulean, sienna, and a little viridian).  Next I mixed a dark brown (try sienna and indigo) and added the darks in the windshield.  I varied the value of these darks and added a little red in some areas.  I darkened the background a little on the right side.  I will most likely do a little more of that next class to 'pop' the truck forward.