3/29/17

DAC Intermediate drawing based WC plants March, April, May 2017

Leaf painting.  The first pass on the leaf painting are washes of yellow wet on dry.  This is a little dull compared to the original.  I used a warm and cool yellow.

This is the start of the second pass.  I mixed a green with prussian blue and lemon yellow.  I also used prussian blue.  I started painting the leaf paying attention to the values.  Then I used a little red to start making the brown spots and edges.  I will demo this more in class next week.

Sketchbook - blind contour, a useful warm up drawing exercise.   When doing this look at the subject, not your paper.  This encourages you to really LOOK at what you are drawing. 

Sketchbook - at the top are drawing exercises.  The bottom half are thumbnails.  Thumbnails are used to plan a drawing or painting.  They are very simple sketches. They help an artist work out composition, shapes, values, and sometimes color.

Sketchbook - The top right are drawing exercises done with watercolor and a paintbrush.  These are marks I most often use at the end of the painting to add detail and texture.  The rest are patterns/repetition exercises

Tree exercises.  I worked wet on dry and started with the clumps of leaves and then moved to the trunks and branches.  The one on the right has the start of pen & ink details and textures.  Notice the ground textures on the trees to plant them on the paper.

Tree exercises.  I worked wet on dry on the left and wet on wet on the right.  The tree on the left is blown with a straw (I also often use a blow dryer for this).  I started with a puddle on the trunk and blew the branches tilting the paper and adding little spots of puddle when needing to change direction or add another branch.  I also fix areas, add branches, etc. with a brush as needed.  The right side is wet on wet (got a little too wet).  The next step is to paint on top or to do Pen & ink on top.  I will show this one in the next class as there were questions. 

Tree exercises.  I worked wet on dry.  The tree on the left is blown with a straw (I also often use a blow dryer for this).  I started with a puddle on the trunk and blew the branches tilting the paper and adding little spots of puddle when needing to change direction or add another branch.  I also fix areas, add branches, etc. with a brush as needed.  I started adding texture with pen & ink.  Could also do this with a paintbrush and watercolor or just leave the tree as is.  The right side was made by starting with the leaf clumps  I used a few mixtures of green and yellow.  I added the trunk and branches second allowing the paint from the leaf clumps to bleed into the brown.

Tree exercises.  I started these trees with a pen & ink contour drawing first and then added color with watercolor.  Next I added texture with pen & ink.  After the texture I would add more color with watercolor. 

Tree exercises.  Worked wet on dry.  Made the leaf clumps and added the trunk and branches and bottom grass while the leaf clumps were still wet.  This needs more details and values with watercolor.  

Tree painting.  I drew the tree.  My first pass is wetting the branches and dropping color into the wet areas.  I can demo this more in class if there is time.

3/24/17

NCBG Beg. CP MA 2017

Canary Yellow

Pomegranate

True Blue

Indigo Blue

White, heavy on the light parts and applied lightly on all other parts to blend.

Using all previous colors I refined the values, form, and details.  The other photos in this series are a bit light as I scanned the image while working.

This is the one I demonstrated in class using the process above.  It is not complete and needs form, value, and detail work using all of the pencils.

Sertoma CW MA 2017

I worked more on the face and eyes, although there are still some unfinished areas here (especially the middle of his face, which has no paint on it).  I added texture to the body and a little more to the paws.  More work needs to be done all over and there are still untouched areas.

I started adding dark to the background and worked on the sleeve and a little on the hat.  Did a few more leaves and added some detail to the fence.  worked a little on the overalls as well  still a lot to do. 

My first pass on the flower.  I painted it upright and wet on dry.  I also splattered, allowed drips, and made blooms.  This is the under painting.  I will start working on the form of the flower next class.

3/16/17

Sertoma CW MA 2017

I worked on getting more form on the dog as well as the fur texture.I added darks and showed lifting and scrubbing lights where needed.  I worked on one eye (it still needs a shadow).  There is of course more to do.

I added some texture to the light are on the top left.  I worked on leaves, the hat, the sunflowers, the fence, etc.  I will continue to finish the items in this painting leaving some areas light or white.  Once they are done I will work on adding darks and details where needed and on tying it all together as a unit.

3/14/17

BAL Colored pencil people Feb & Mar 2017

Colored pencil started with a melted and splattered colored pencil under drawing.  I started adding color and value to the face.  I added dark to the hair and showed you how to erase and lighten highlights in the hair (which I plan do in other areas of the hair).  Everything needs more work, more detail, and more darks, but this is a good start/foundation.  I filled in the back portion of her hair (the part that looked like exposed brain...) before posting.

3/12/17

BAL CP People Feb. & Mar. 2017

I have finished the scarf and the background and clothing.  I have worked all over refining.  It might be complete, however I will most likely be making small adjustments for a bit.

3/10/17

BAL CP people Feb. & Mar. 2017

Colored pencil with a melted and splattered under drawing (colored pencil melted with a solvent).  I used terra cotta on the face to start shading, lightly.  I put some terra cotta in the hair as well.  I shaded, lightly, with aquamarine on the background as well as some in her hair and on her face in several places.  I added some scarlet lake to her hair.  I added some canary yellow, lightly, to her hair and parts of her face as well as her clothing.  This is the beginning of starting to organize the form over the under drawing.

NCBG Acrylic Feb. & Mar. 2017

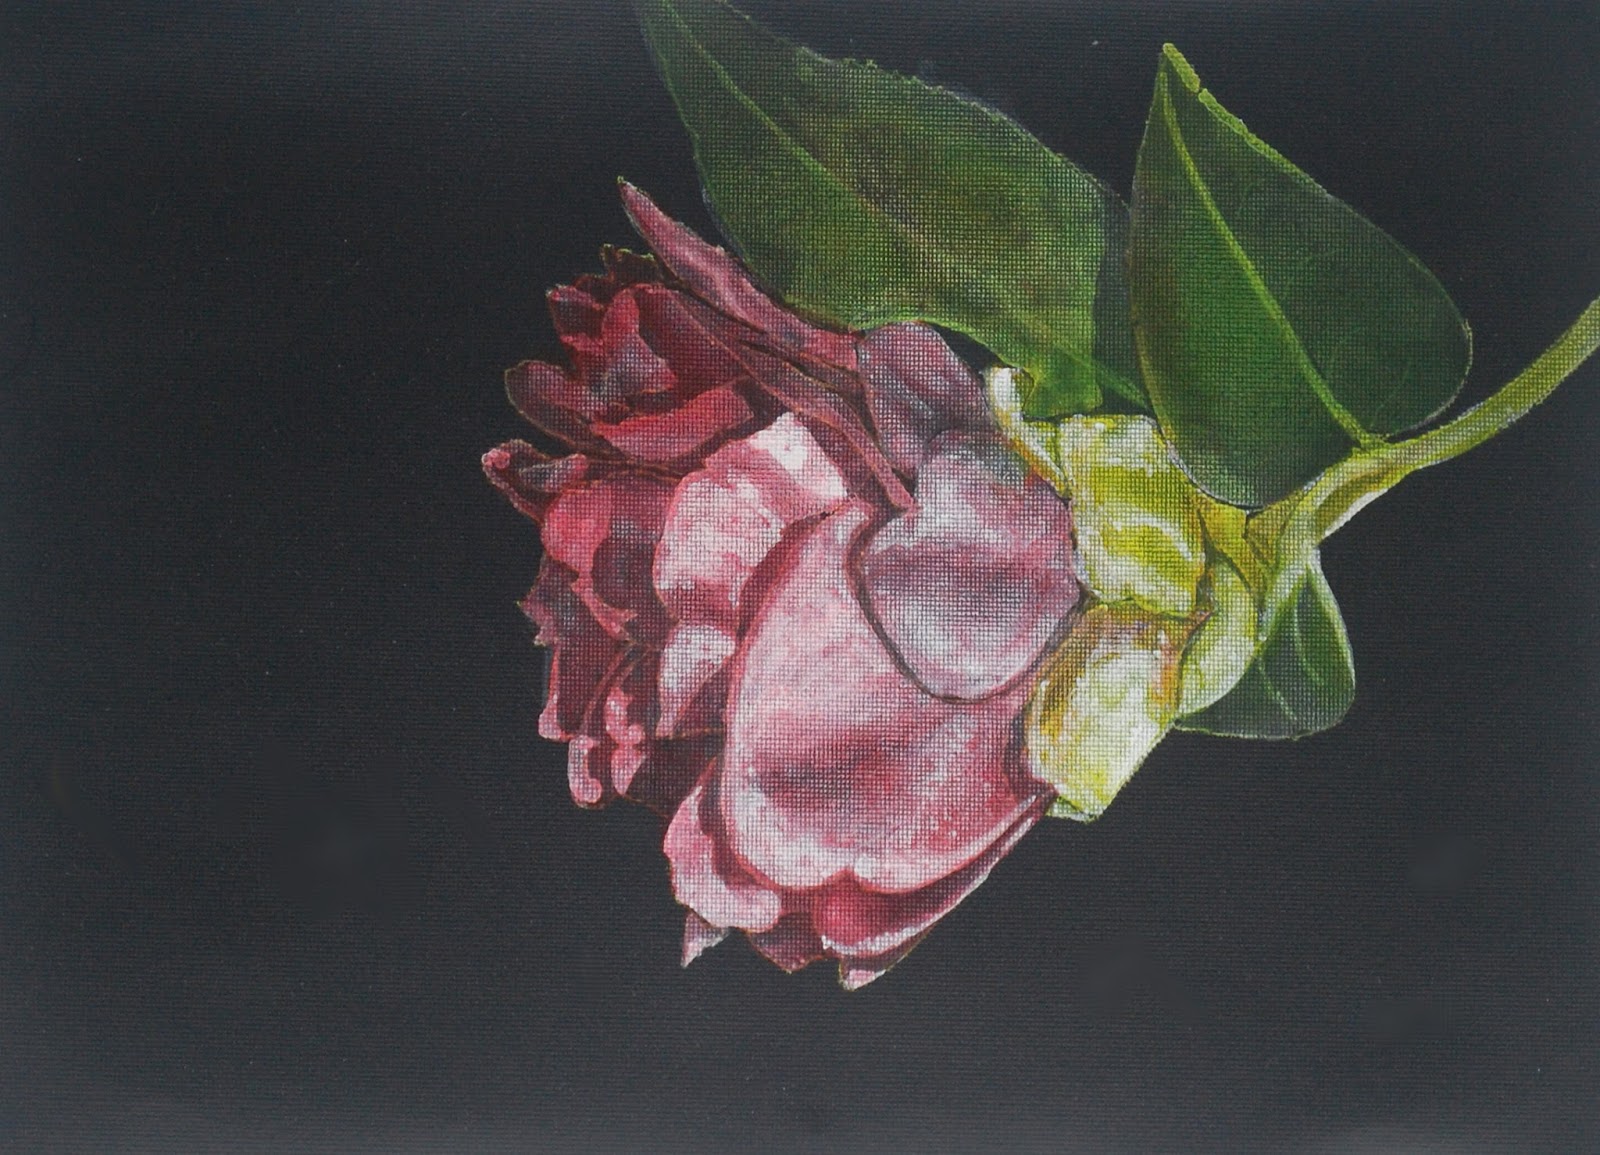
Acrylic on black gesso.  I typically start these with white and do a white value study.  Sometimes the white value study looks so good it remains as the painting.  This is a poor photo taken with my phone in poor indoor light.

After the white is complete, I glazed with color.  Then on some areas on the flower I started adding some more white highlights.  I will add highlights, color, details, and shadows as needed in layers.

NCBG Acrylic Feb. & Mar. 2017

Acrylic on a texture background.  I started this on a background that had some areas I did not like.  I had already started working to fix those areas, but have more to do.  I started the plant by painting the leaves the local colors and white for the pea flower.  I typically either start a textured piece either with white (when it's a dark background) or with local color (when it's a lighter background) or a combination of the two (often on a medium background).  This photo is poor, it;s from my phone which takes only ok photos.

I have fixed the background with yellow, white, and some red.  I have added more white to the pea flower.  I have started shading with the white on the leaves and stems.  I will continue with the white.


Glen Eden/Sertoma CW March and April 2017

First I mixed the color for the towel and background.  I painted the color on the towel and very lightly on the background and parts of the dog.  I mixed a gray and started painting the dogs body.  I painted texture on the towel.  I started painting the digs head.  Remember, I painted this in a piecemeal fashion because it's a class demonstration for class.  I would normally work all over finishing areas if working at home.

First I painted a bright yellow in various areas around the painting.  I wanted the yellow underneath some of the areas to provide a glow.  Then I masked the straw sticking out around the head of the scarecrow. Next I used purple and yellow to start painting the clothing.  I used a brown for the head and greens, yellow, oranges, and browns for the leaves.  I put a little green on the scarecrow arm as well.

3/6/17

BAL CP People F&M 2017

I started adding aquamarine to the background.  This has some areas that need to be finished and value adjustments and refining and details all over.  It's close, but still needs some work.

I shaded and then melted aquamarine.  I also melted grated aquamarine in a jar lid and painted and splattered it onto the drawing.
I melted 3 more colors and painted and splattered those onto the drawing surface.  I will let this evaporate for a day or so and then draw over the top.
Added more color.  Started adding darks.  Once I get the values closer to what they need to be I will start adding more reds as well as some blues to her skin.  be careful, add blue judiciously.  It is needed, but overdone it can be a problem.


2/21/17

BAL CP People F&M 2017

Colored pencil on maroon mat board.  This shows the addition of terra cotta (can use sienna brown as well) on the left side of the face and arm after completion of the cream, white, and light peach layers.  After the terra cotta the highlights and darks will need to be re-established. 

This was done during class.  The highlights have been re-stablished on the skin after th terra cotta.  I started adding color to the scarf.  I showed aquamarine on the left side and true blue and canary yellow on the right side..  Highlights and shadows will need re-establishing after the color is added.

After class I started re-establidhing the highlights and shadows on the scarf, worked more on the skin and hair, and started adding color to the dress on the left side.  I used true blue and pomegranate plus more white after the color was added.  I left the bottom left fold undone in case you want to see what I did on the scarf as well as the right side of the dress.

Colored pencil on UART sanded pastel paper, 800 grade.  The start of the value study with one color (terra cotta or sienna brown for this piece).

The value study under drawing.

2/17/17

NCBG Acrylic F & M 2017

I painted red over the bud and stems and green over the leaves and stems.  I glazed to shift the green color between the areas.  I then started adding shadows with color and white for the highlights.  After I get the areas the value and color I want I start adding details, more shadows, and textures.

I continued adding darks and lights.  I started shading some details and glazed on a little red and yellow to add interest and depth to the green.  I will continue adding details, refining or correcting areas, and working on the values and color.

2/16/17

Wakefield Vet Class

Colored pencil on a tinted sanded surface.  Last week.  We used cad. orange, spanish orange, canary yellow, sienna brown, white, cream, pomegranate, black, true blue.  I started with white and cream as well as black and then cad orange.  I put the black in the spots and the cream and white in the white and orange areas and then cad orange in the orange areas.  This helped make a map so we could tell where things went (as the pattern was a bit confusing).  Then we started laying in the colors and values.

Colored pencil on a tinted sanded surface.  This week.  We kept working on the fur adding texture, color, and value.  We also refined the parts we had done adding more detail, texture, and value as well as making corrections.

Sertoma/Glen Eden CW JF 2017

I worked on the scarf a little more, started adding shadows to the clothes, and refined the face adding some details and shadows.  I added some slightly darker shadows to the front of the face because I plan to leave my background light.  I may add color, but it will be light.

Started adding shadows and details to the cat, especially the face.  The muzzle area is shaped incorrectly, so use the photo to shape yours, not my painting.  I need to fix mine.   I also started adding gouache for whiskers and hairs (have more to do).  I added a glaze of warm yellow over my background.  This needs more darks, more gouache, and some correcting and details.

C & C

Acrylic.  Worked more on the values on the dolphins.  Started adding the white water reflections.

2/13/17

BAL CP people Feb. & March 2017

Colored pencil on a medium dark mat board.  I started with cream and white.  I used cream to do a value study on the skin, focusing on the light areas with cream.  I used white in the lightest areas on the scarf.  There is no need at this point to do all the wrinkles/details, but do pay attention to the gradations in the values.  Next I used indigo (could also use black grape or dark brown). I started working on the dark areas, again, paying attention to the gradation.  I have not finished all of the areas.

2/9/17

NCBG A Feb. & Mar. 2017

Acrylic Color Wheel Golden Fluid Acrylic

Acrylic. Value Study - a more completed example from a past class.

Acrylic. Local Color - a more completed example from a past class.

Acrylic, value study.  I mixed a gray by mixing blue and orange (basically mixing the 3 primaries with an emphasis on blue so it would be a gray).  I then painted a value study in a very wet application, similar to watercolor.  This is an under painting.

Acrylic, Local Color.  I wet the pepper and painted a wet application of green (a mixed green) not really paying attention to values, more of a flat application.  Then I used white to start adding the first layer of highlights.  I mixed black into the green to darken the green and added the first layer of shadows.