6/17/14

NCBG Gouache (June 2014)

Local color.  I have started to add some color and value to the original local color (bottom right) and I finished adding the rest of the local color.

I have started adding the values and some details.  I often use white a lot during this stage.

Value Study.  I finished the value study.  The bottom right berry has some color added.

I have added more color and have adjusted values as well.


6/10/14

NCBG Gouache (June 2014)

Gouache Value Study.  I started this with one color.  I wet the berries and used the gouache similarly to watercolor and concentrated on the values.

I started to add some other color.  I will keep enhancing the values as I add the color.

Gouache Value Study, a second version.  I started this with one color.  I wet the berries and used the gouache similarly to watercolor and concentrated on the values.

I finished the values.

NCBG Gouache (June 2014)

Gouache Local Color.  This technique starts with putting down flat local color (the basic color of the object).  Later the values and details will be painted on top.  If this were not a demo I would finish all the local color before adding values.

This is after the addition of a few values on the two berries.

Gouache Local Color, a second version.   This technique starts with putting down flat local color (the basic color of the object).  Later the values will be painted on top.

This is after the addition of white gouache on the two berries

***The colors of the demo photos for the same subject often vary as the method of taking the picture and/or time of day has varied.

NCBG Gouache (June 2014)Gouache exercise

Gouache exercises (incomplete of course)


This is an older version.  It is not exactly like yours as far as numbers, but it has the colors finished.

6/5/14

NCBG Gouache (June 2014)

The Gouache exercise sheet partially completed.

Local Color.  Paint flat color, close to the dominant color of the subject matter.

Value Study.  Use one color and paint the values, the darks and lights, to create form.  This will be the same as using watercolor.

5/20/14

BAL Workshop


Photos from the workshop

Burlington Artists League Watercolor Workshop

We started this with a rubber cement textured surface.  I did this by drizzling rubber cement on white paper, allowing it to dry, painting light color, allowing it to dry, drizzling more rubber cement, drying, more watercolor, drying, more rubber cement, drying, more watercolor (I usually do 3 - 6 passes of rubber cement and color).  After dry I used a rubber cement pick-up to remove the rubber cement, transferred my drawing, and started painting the chicken allowing some background texture and color to come through.  It of course needs more work and detail.  I will post it here as I work on it.

For this one I transferred the outline of the chicken.  I made registration marks so I could replace the drawing later and transfer the entire drawing.  I drizzled the rubber cement in a grassy pattern, allowed it to dry, added watercolor, allowed it to dry, added more rubber cement, allowed it to dry and so on for about 3 rounds.  I meant to keep the rubber cement on  as I painted the chicken but accidentally took it off.  I made the grass patterns in the chicken with negative space painting (would have been easier if I had left the rubber cement for a bit as I put the chicken in...).  It of course needs more work.

This chicken was about this far as I started in in another workshop.  I worked on the head for you showing you how to use white gouache to add light details.

I started this by transferring the drawing first - tape the drawing onto the paper, slip graphite paper underneath, trace the drawing and it transfers to the watercolor paper.  I do my original drawing on tracing paper and transfer them as needed often doing an image more than once.  I wet the background and leaves dropping in purple and drops of water to create 'blossom' textures.  After dry, I wet a petal and worked with purple (any color will do...) to create form and shadowed areas.  I only did a few petals as examples (if working on my own piece I would finish the petals completely in purple).  Then I used green yellow and brown to do the leaves (I wet them first).  Next I showed a few different areas on the background to show you several background options.  The top was done with indigo and a little yellow.  The bottom left was a yellow glaze and the bottom right was a rose glaze.   This of course is not complete. 

Plastic wrap texture.  I often paint and draw on these background or put them in spots on paintings as I work.  The process is to wet the paper, drop in color, place plastic wrap scrunching it and leaving it until it's dry.  Then it leaves a texture.

 This is a rubber cement textured paper with the rubber cement still on.  I did this by drizzling rubber cement on white paper, allowing it to dry, painting yellow, allowing it to dry, drizzling more rubber cement, drying, adding more watercolor various colors, drying, more rubber cement, drying, more watercolor (I usually do 3 - 6 passes of rubber cement and color).  After dry I will use a rubber cement pick-up to remove the rubber cement.  I need to do maybe another pass or two.

This painting started by transferring the drawing first.  I then started with wet-in-wet.  Wet the paper, dropped and guided various browns, keeping it slightly loose, paying close attention to the values.  After it dried, I added more details and values with watercolor, much less wet than the first pass.  I also added blue to the shirt and a little gray (mixed with brown and blue) to the head scarf.  I will continue with basically the same colors working on the values and the details.

4/17/14

Continuing Watercolor (March and April 2014)

I worked on the flowers in the back as well as the basket.  I worked on the front basket as well, it needs a bit more dark.  I have improved the face, but still not entirely happy with it.  When I figure out what I want to do I'll repost it (really huge sunglasses are looking good tight now...).  I worked on part of the bike adding shadows so it looks round.  I worked on the hand (less is more, wish I had taken that advice for the face).  Added more shadow to the back of the hat.  Am in process to fix the curve of the front tire.  There is a lot more little stuff to do of course.  

I added more darks and then wet the entire paper (boat too) and added cerulean at the top and purple on the bottom of the sky.  After it was dry I used a gray watercolor pencil for the lines.  I re-wet the paper and did another wash of color - cerulean and rose.   There is a little more to do, but it's close.

Aqueous Acrylics & Gouache (March and April 2014)

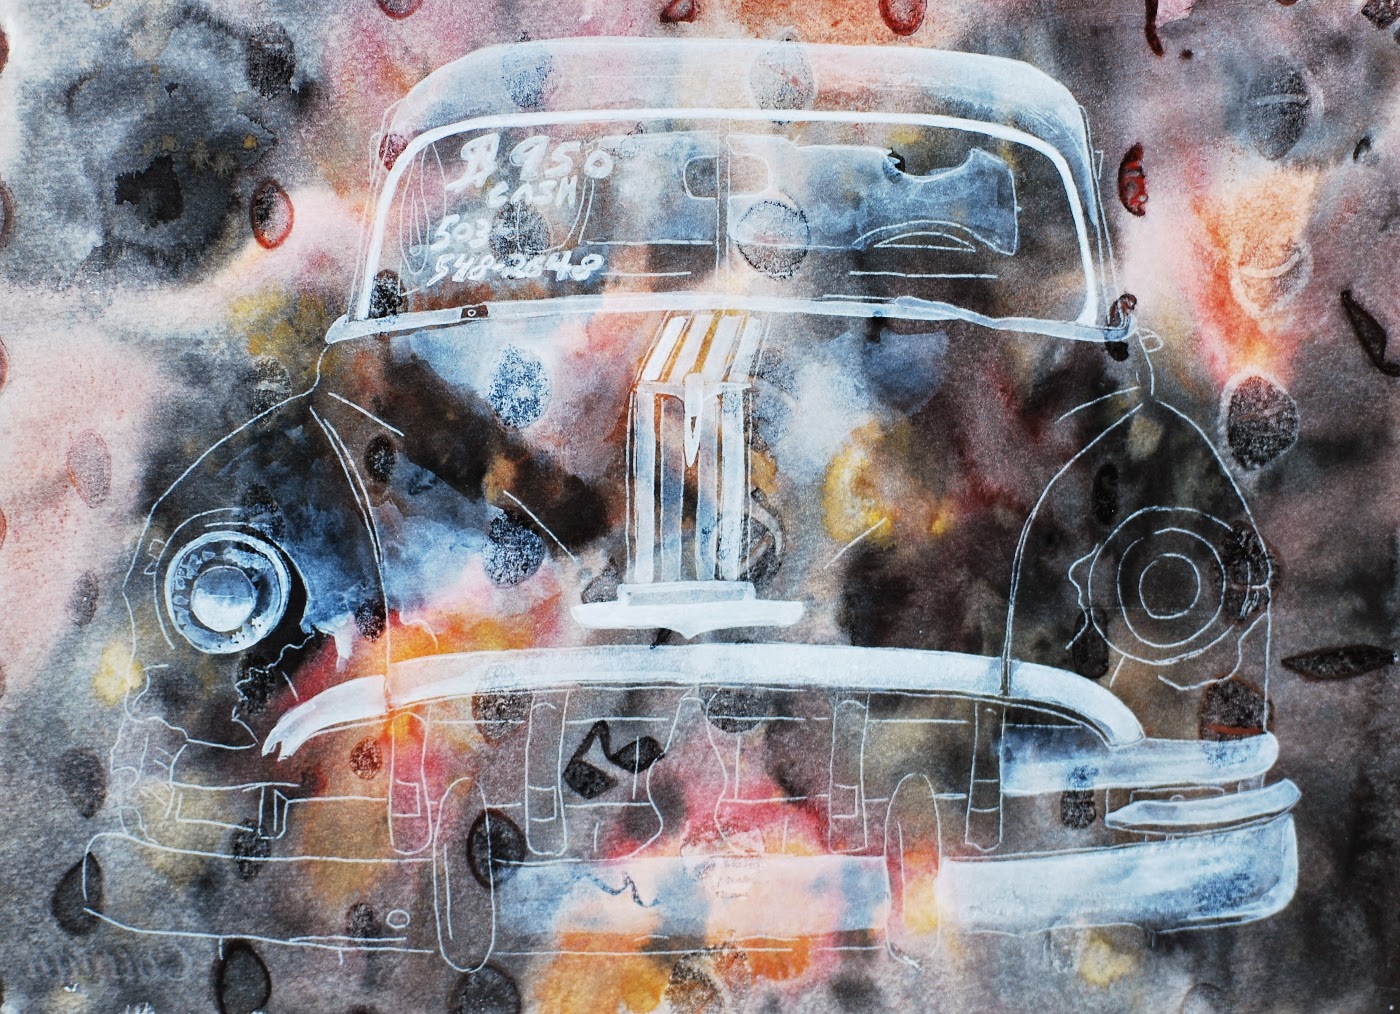
Acrylic.  I started to do a value study with white

Acrylic.  On the left side I have glazed some color over the area.  I have added a few darks around the headlight as well.  

Gouache.  I started adding white to the light areas doing a value study.

Gouache.  I have added some more white, some blue, and some dark areas.  I added texture to the headlight on the right.

Acrylic.  I have added some shadow areas, allowed them to dry, and then added white (in a feather texture) over the topf of the dark to blend it in some.  I have added more white to the light areas as well.  I have toned down the background with some greens and blues.  It needs more toning down.

Gouache.  I have added some more darks and more lights and texture and details.  I have gone over the background toning down the texture.  It needs a bit more toning down still.

4/10/14

Continuing Watercolor (March and April 2014)

I worked on the hat adding pattern and texture.  It needs some more value work.  I worked on the background a bit showing options.  I cleaned up the edges of the bike and started adding shadows to make it have form.  I added a blueish shadow to the jacket and started adding seams (which need more work...).  I worked on the hair and the face (wow does the face need help still...). 

I am using a dark (indigo and burnt sienna) and cobalt to paint a value study.  I plan to add the sky on top in order to blur it a bit.  I may add the lines with a very sharp watercolor pencil.  Usually use a brush but think this might be easier.

Aqueous Acrylic & Gouache (March and April 2014)

Acrylic.  I transferred the drawing onto the textured background (made by wetting the paper applying color and putting large bubble wrap on top).  I used white and started a value study with the white on the light areas.

Gouache on masonite primed with Kilz 2 and then prepped with Absorbent Ground (Golden Acrylic product).  I transferred the drawing onto the textured background (made by wetting the surface, applying color, and then adding salt when it is shiny, not a puddle).  I used white and started a value study with the white on the light areas.

Gouache.  I added some darks and then after the areas were dry I added white feather textures over the dark.  I added color to the beak (white value study first, then after dry I added color and detail).  I added some white and dark and texture to more areas.  I also softened the background near the head with water and a brush (gently).  I would do the same for acrylic (except the softening part - for that I would soften it with blue and green washes or white washes)

Acrylic and wax paper.  I wet the surface, dropped in color, placed the crumpled wax paper on top, put books on top, allowed it to dry.

Gouache and wax paper.  I wet the surface, dropped in color, placed the crumpled wax paper on top, put books on top, allowed it to dry.

4/2/14

Continuing Watercolor (March & April 2014)

I worked on the jacket using burnt sienna and permanent alizarin.  I wet the jacket first and then added wrinkles and shadows leaving some areas white.  I did a second pass on the jean using mostly indigo to better define the shadows (I did not wet the area first).  I wet the tires and dropped in the dark (brown and indigo) following the value patterns and guiding the paint a bit.  I mixed green (indigo and aureolin & cobalt and aureolin) and sribbled in the leaf textures for the front basket flowers varying the value a bit.  I then dropped in permanent alizarin and yellow.  I worked on the back basket, back side a littel making drawing marks (it needs quite a bit more).  I mixed a light brown and wet parts of the hat and did a light value study to make it round before adding the details.  I glazed some yellow and red into the salt pattern behind her head (only did a little).  I glazed an area of yellow to a section in front of her face to the right.  I 'blew' some branches on the very left side.

Aqueous Acrylic & Gouache (March & April 2014)

Gouache.  I used lights and darks adding details to the tomatillo.  

Acrylic.  I wet the paper and dropped in color guiding it around the paper.  There are a few areas that need 'fixing' (the hard edge under the leaf, and the green spot on the flower, oopps)

Acrylic.  After transferring the drawing I did a value study with white.  This is the very beginning.

Gouache.  After transferring the drawing I did a value study with white.  I also mixed a dark and started adding shadows and dark areas near the beak and eye.  I did several passes with the white on this one.