5/18/11

Acrylic flower.  I demonstrated more petals with the color I mixed.  I started the leaf with a warm green color.  We will get all of the values established before glazing more color onto the petals and leaves.  On the left side I demonstrated how to fix a loss of values for a few petals (using white).
The start of the colored pencil flower on black paper using a light peach pencil with white added in the very lightest areas  - this was started at home.

This is what it looked like after class.
The start of the colored pencil flower on white paper using a magenta pencil only - this was started at home.

This is what it looked like after class.

5/10/11

Flower photo
Acrylic flower.  We are starting this in sections as a value study.  Concentrate on the washes and values.  The color is a mixture of mostly primary red, primary yellow, white, and matte medium mixed in a small container to a medium or medium dark value.
Watercolor flower.  We are starting this in sections as a value study.  Concentrate on the washes and values.  The color is a mixture of Permanent rose and aureolin (you can use alizarin or lemon yellow as well).
Colored pencil barn - still needs more values and a little detail, but getting close.

5/3/11

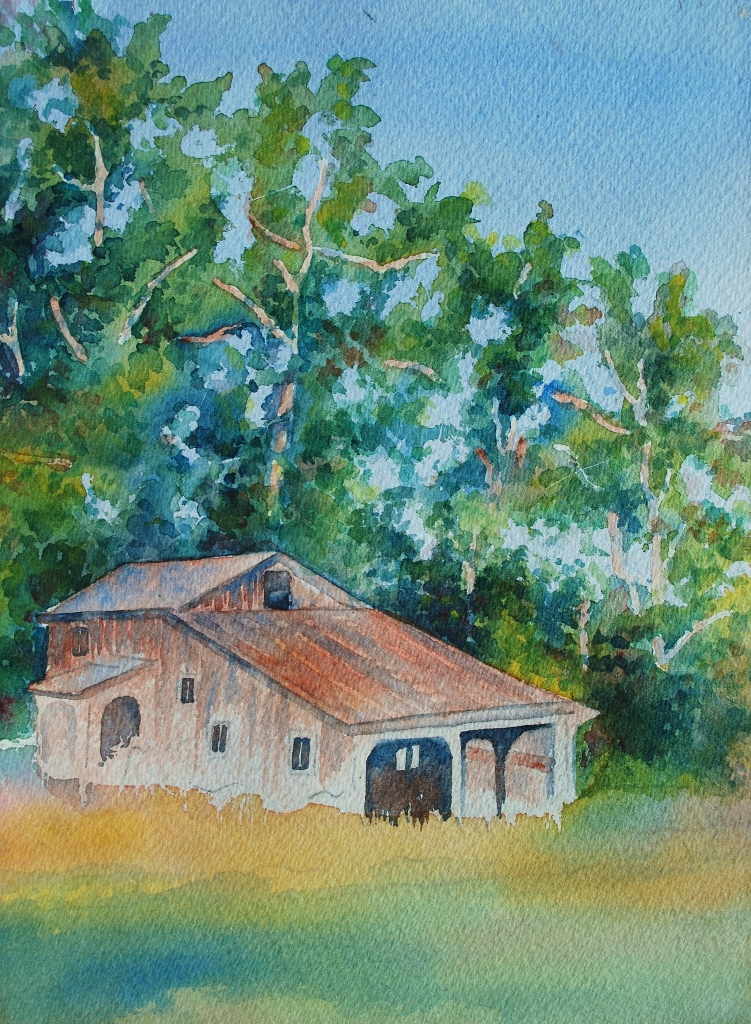
Watercolor - thei is the piece after class.  I worked on the front grass area and a little on the trees and barn.  I added some gouache as well.  I plan to work more on the barn.
Watercolor - This is before class - I worked on the trees a little since last week.
Acrylic  - this is what the piece looked like after class.  I added the tree limbs and branches, glazed the trees and barn, and started working on the front grass area.  The piece needs more value contrast.
Acrylic barn before class - changed the sky and treeline shape.

4/26/11

This is the watercolor project afer class today.  I worked in the trees some as well as on the barn adding color and value as well as detail.
This is the acrylic after class today.  I worked some on the barn adding color and some values.  It needs more of both.
This is the acrylic barn project between last class and today's class.  I worked on the trees (to try and catch up to your trees).
This is the colored pencil barn after class today.  Remember to layer colors into the trees as well as light and dark values.  This still needs work in the trees.  I also added some value, color, and detail to the barn.
This is the colored pencil piece between the last class and today's class.  I added some color and dark in the trees.  It takes quite a few light layers of color.

4/19/11

Watercolor barn - I worked on the trees on the left.  I used 'dotted' color to make it look like clumps of leaves and worked to make the 'sky holes' more natural looking.  The colors I used were sap green, indigo, and permanent alizarin.  I then worked on the barn with sienna brown, some permanent alizarin, and some new gamboge as well as cobalt on the roof (a little bit).
The acrylic barn - I added the barn on top of the trees by using transfer paper and then painting it.  I used 4 'colors' - brown, light brown, dark brown and white.  Pay attention to the values - we will add more color later.
Colored pencil barn - I worked on the barn using sienna brown, dark brown, true blue, and magenta (and a little cream).  I started adding some dark values in the trees (dark green).  It has a long way to go...

4/12/11

The colored pencil drawing.  I shaded the barn and trees and used Turpnoid to melt it all for the 'underpainting.'  The next step is to shade the values, color, and details.
The acrylic barn painting.  I first painted the sky a gradation from dark (at the top) to lighter towards the bottom.  After that dried I added the grass and tree backgrounds.  We will transfer the barn next and start adding details to the trees and grass.  This is the 'underpainting.'
The watercolor barn painting.  I removed the masking fluid and rubber cement.  I started working on the trees behind the barn, re-edging the barn and working on the 'sky holes' to make them look more natural.  I will need to re-transfer the details of the barn as I lost most of it.

4/5/11

This is the start of the acrylic barn painting - this may be my best work yet...  (we will start the acrylic project next week).
This is the start to the watercolor barn painting.  Here are the steps: 1. transfer the drawing, 2. mask the barn and the tree limbs (I used masking fluid and rubber cement) and let dry, 3. wet the paper and do a blue wash for the sky and sky holes (I used cobalt) and let dry, 4. mask the 'sky holes' and let dry, 5. wet and paint the trees and grass areas (I used sap green, cobalt blue & aureolin yellow mixed, cobaly blue, indigo blue, new gamboge yellow, and alizarin crimson).
This is the start to the colored pencil barn painting.  I transferred the drawing and shaded the sky and 'sky holes' with true blue, indigo, and cloud blue.  I then melted the pencil using Turpenoid (odorless turpentine).