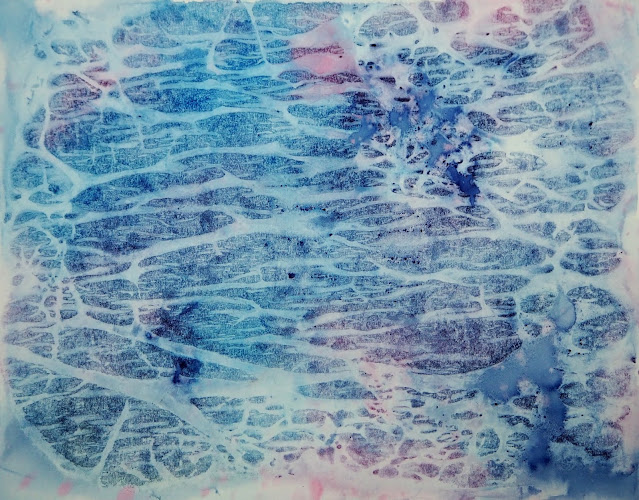
Texture made with wax paper. I wet the watercolor paper, dropped in color, crumpled the wax paper, placed it over the wet paint, and placed something to hold it down until it was dry.
Texture made with plastic wrap. Wet the paper, drop in color, place the plastic wrap on the wet paint, and scrunch and/or twist until you make interesting shapes.
Sanding texture made with watercolor pencils and a strainer. Wet the paper and drop in some color if you wish (i added some yellow). While this is wet, color watercolor pencils on a strainer over the paper so the tiny pieces fall and make a spotted texture. The yellow wash area and to the left of it is a place where I sprayed water to show what too much water can look like. The right side and along the top is the way it can look.
This is the start of the mushrooms using salt as the texture. I wet around the mushrooms and dropped in dark color (you decide on the color and how dark). I used both table salt and larger sea salt. You can see the differences in size. Add the salt when the paper is shiny, but not puddled.. I will most likely be adding more color and glazing this as it will be too distracting as is. I also started adding masking fluid on the mushrooms (the gray stuff on there). I will finish adding it before class.
Before class I did a small part of the branch with a mixed dark gray color (the 3 primaries leaned toward blue). I also started adding a light blue, like a glaze (ultramarine) to the petals.

I worked on more of the branch with the mixed gray (warm and cool red since plus warm yellow plus green blue), I glazed parts of it with blue and yellow. I still need to adjust the values on the branch a little. I added more ultramarine blue to the petals as well as some of the gray from the branch (but lighter).
Colored pencil (work in progress) over a dark watercolor background (that was another painting covered in dark color)
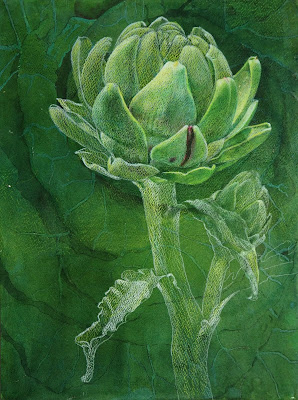
White gouache (work in progress) over a darkened watercolor painting of the artichoke.
The artichoke before I added a red glaze
The artichoke after a red glaze was applied to the background and the start of some edges being cleaned up.


